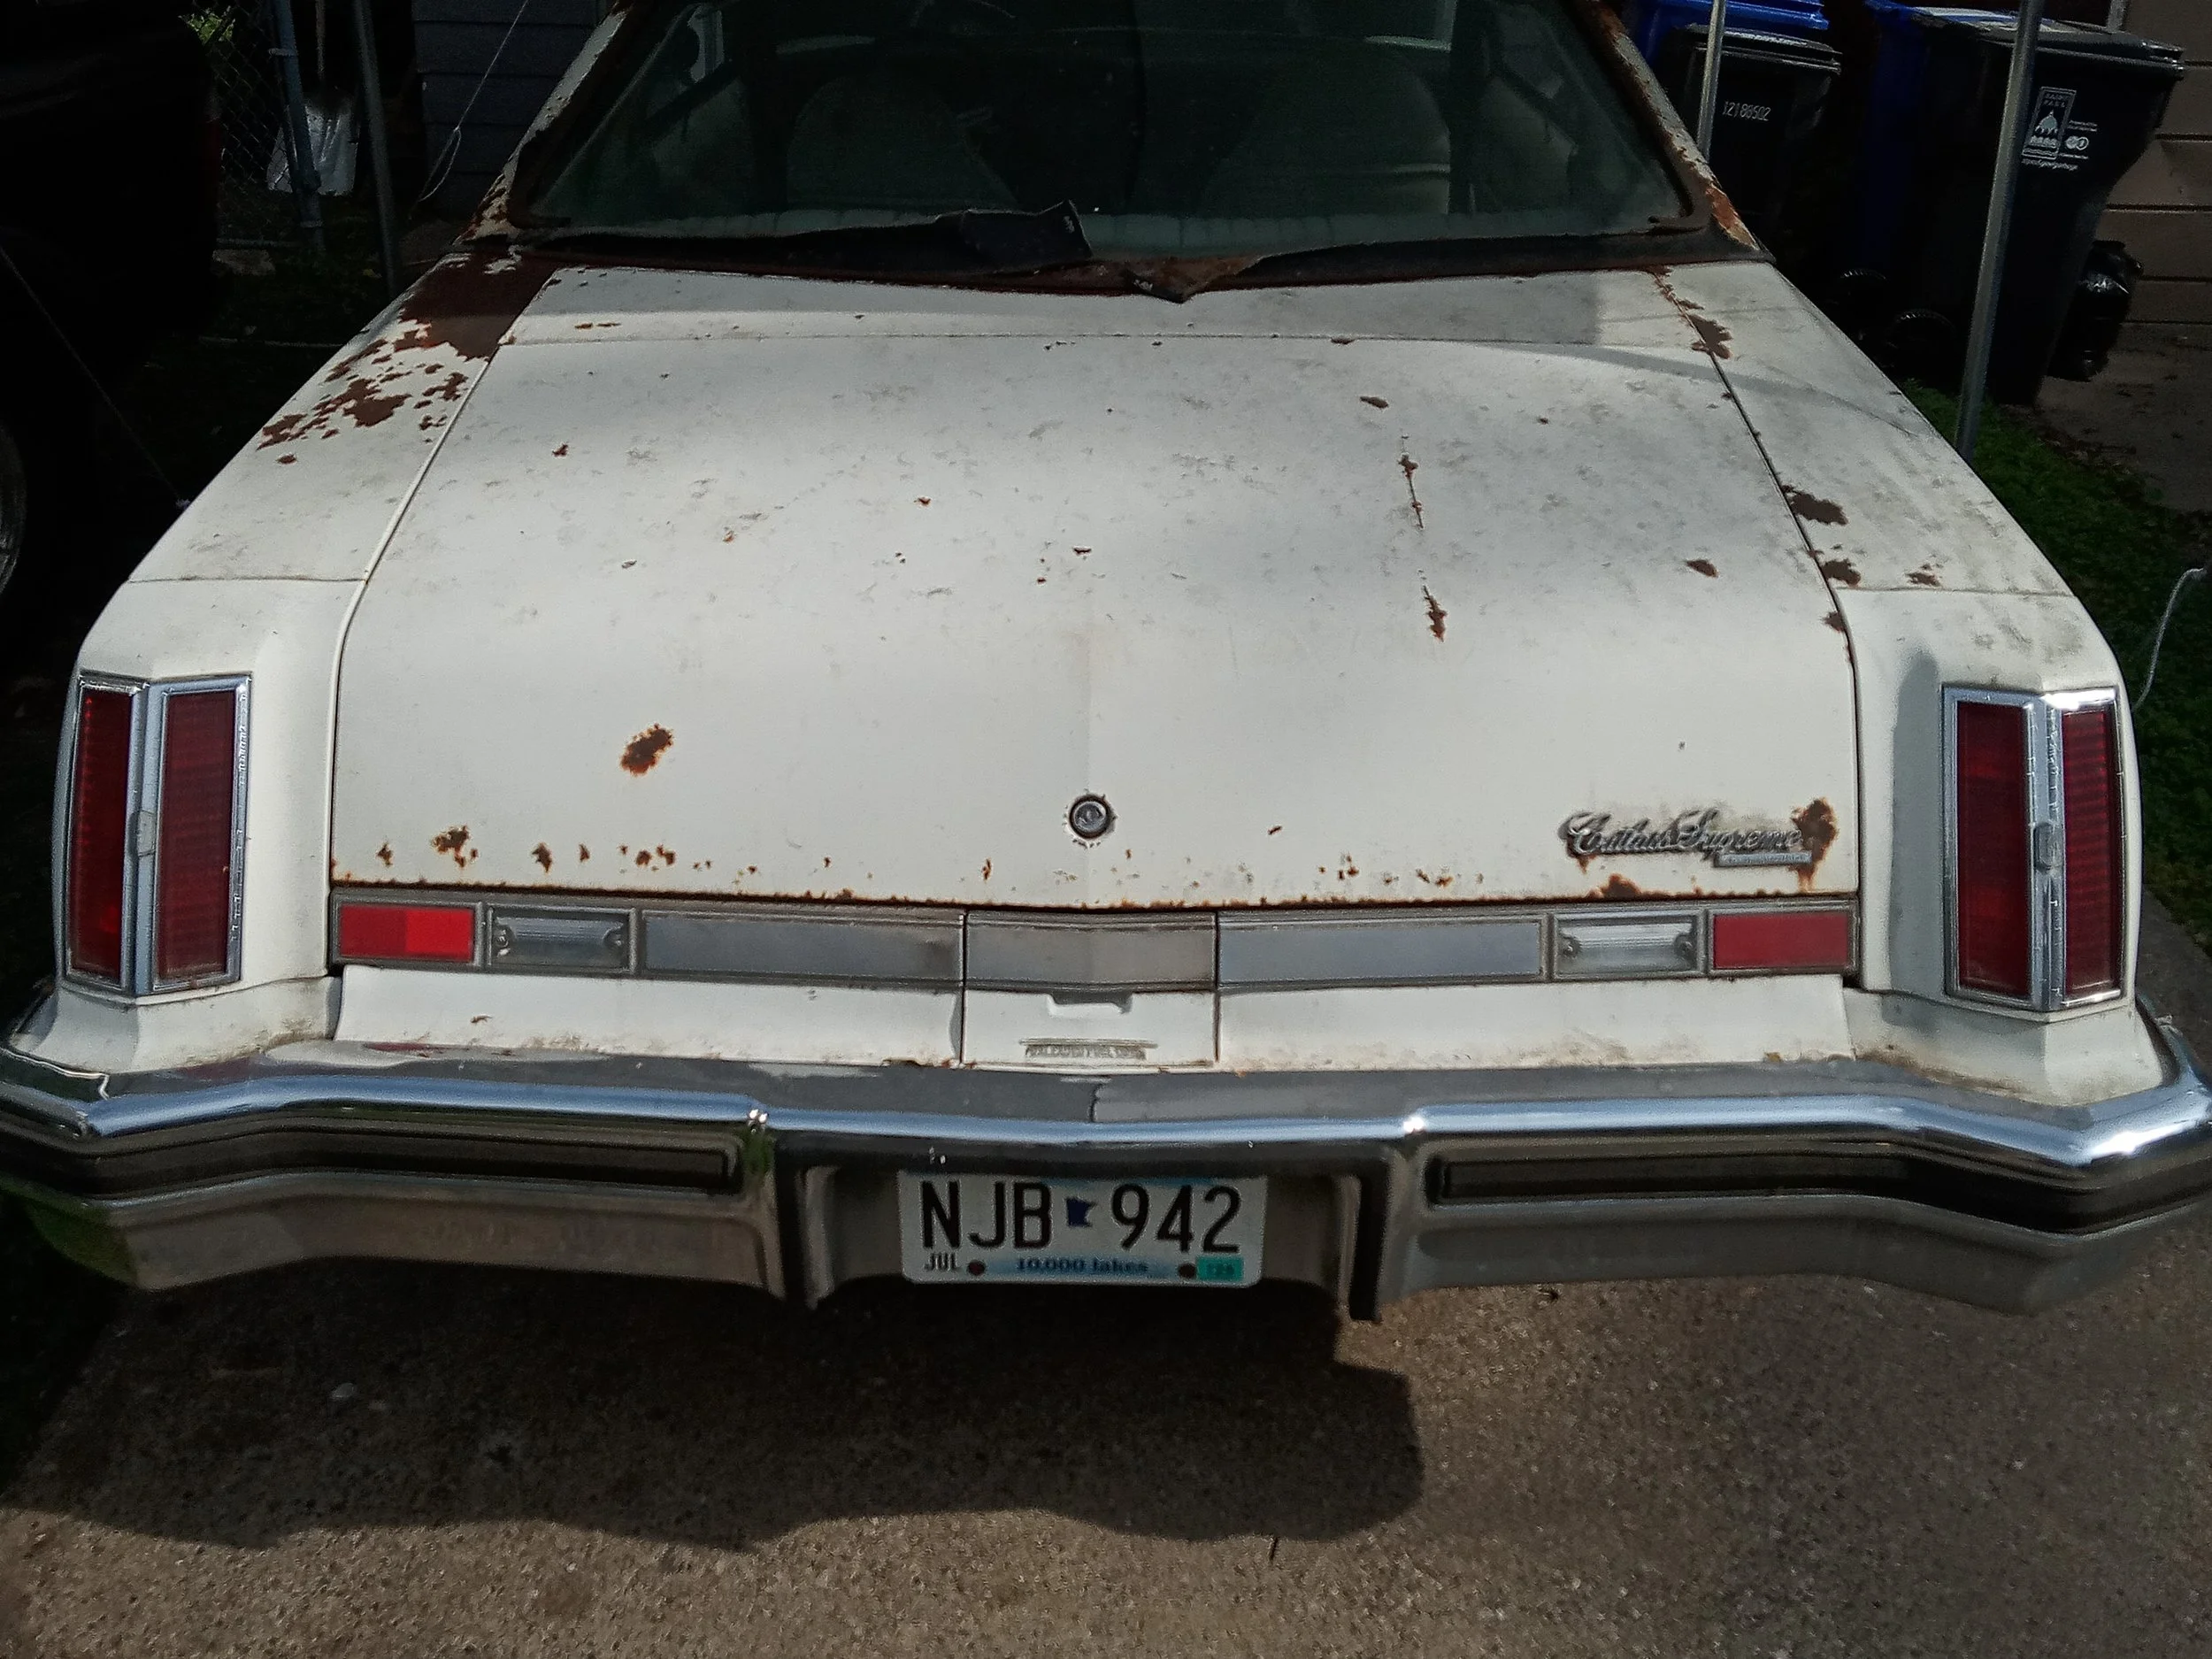
1975 Cutlass Supreme
Exterior Restoration
Painting Process
as of 7/13 & 11/3
scuff with 80 and 120
wash car
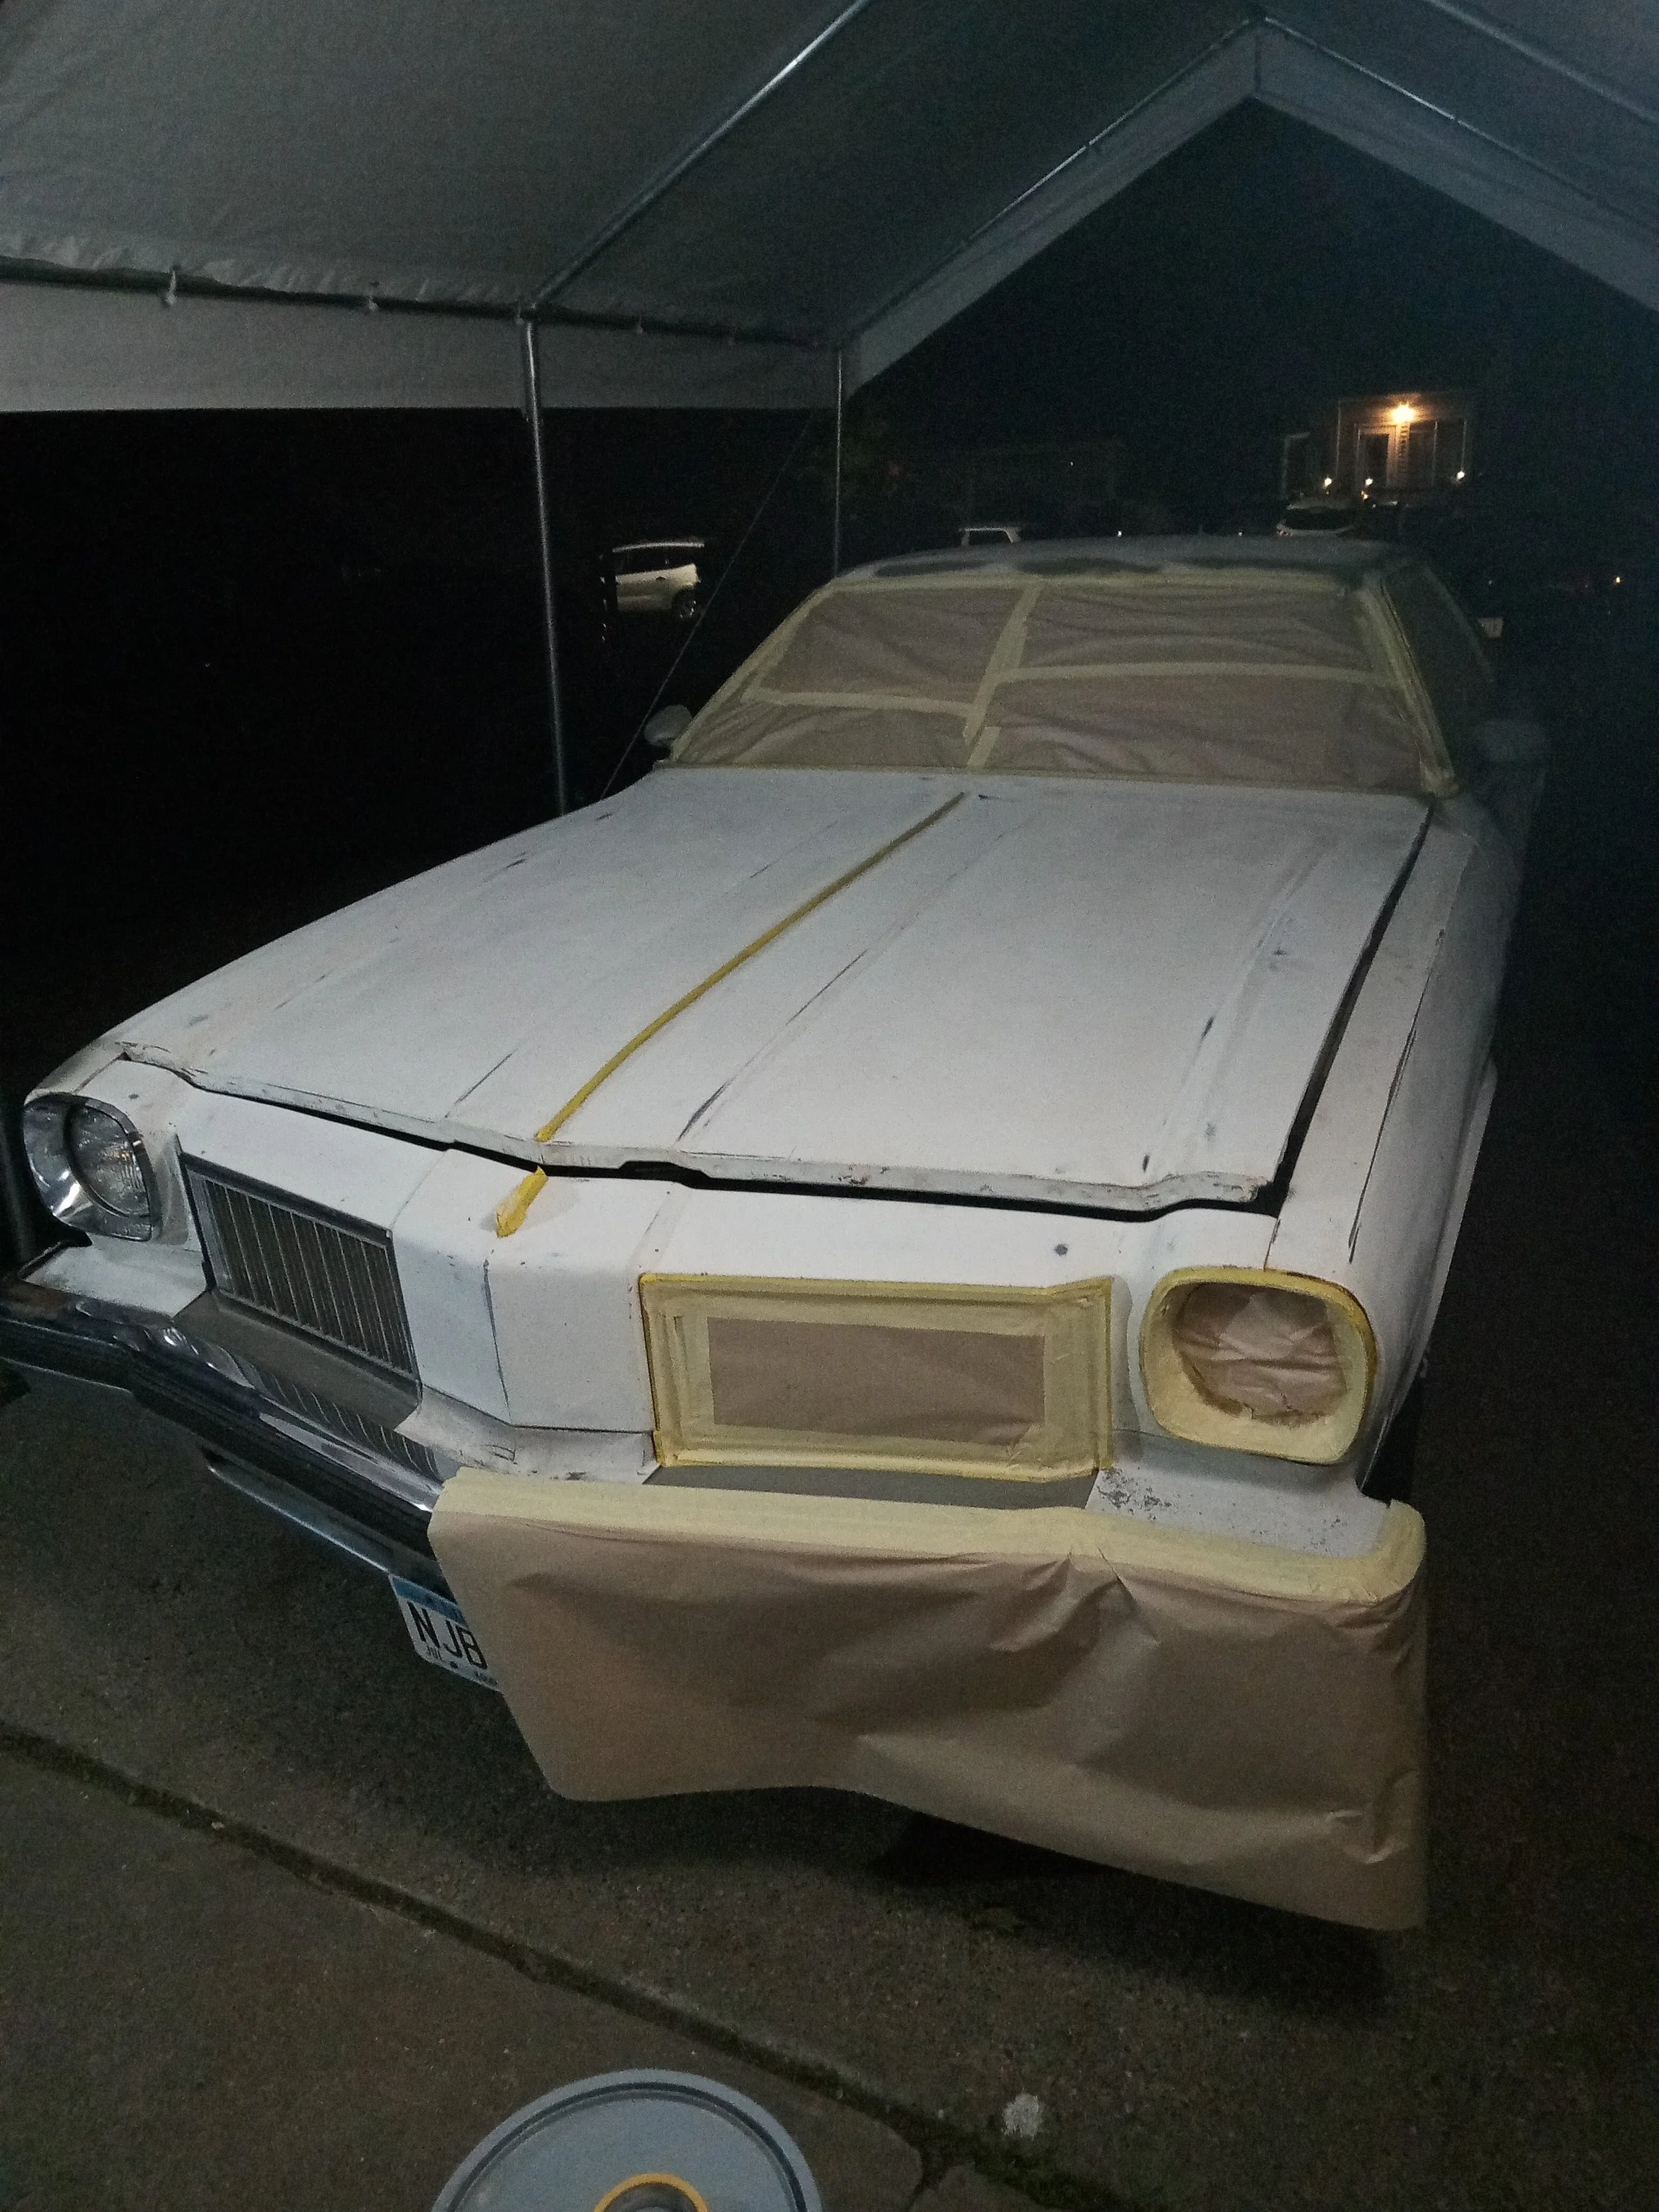
tape off chrome and windows
spray heavy coat of primer
“flash” on a 2nd coat of primer right away
sand with 150 to knock down surface
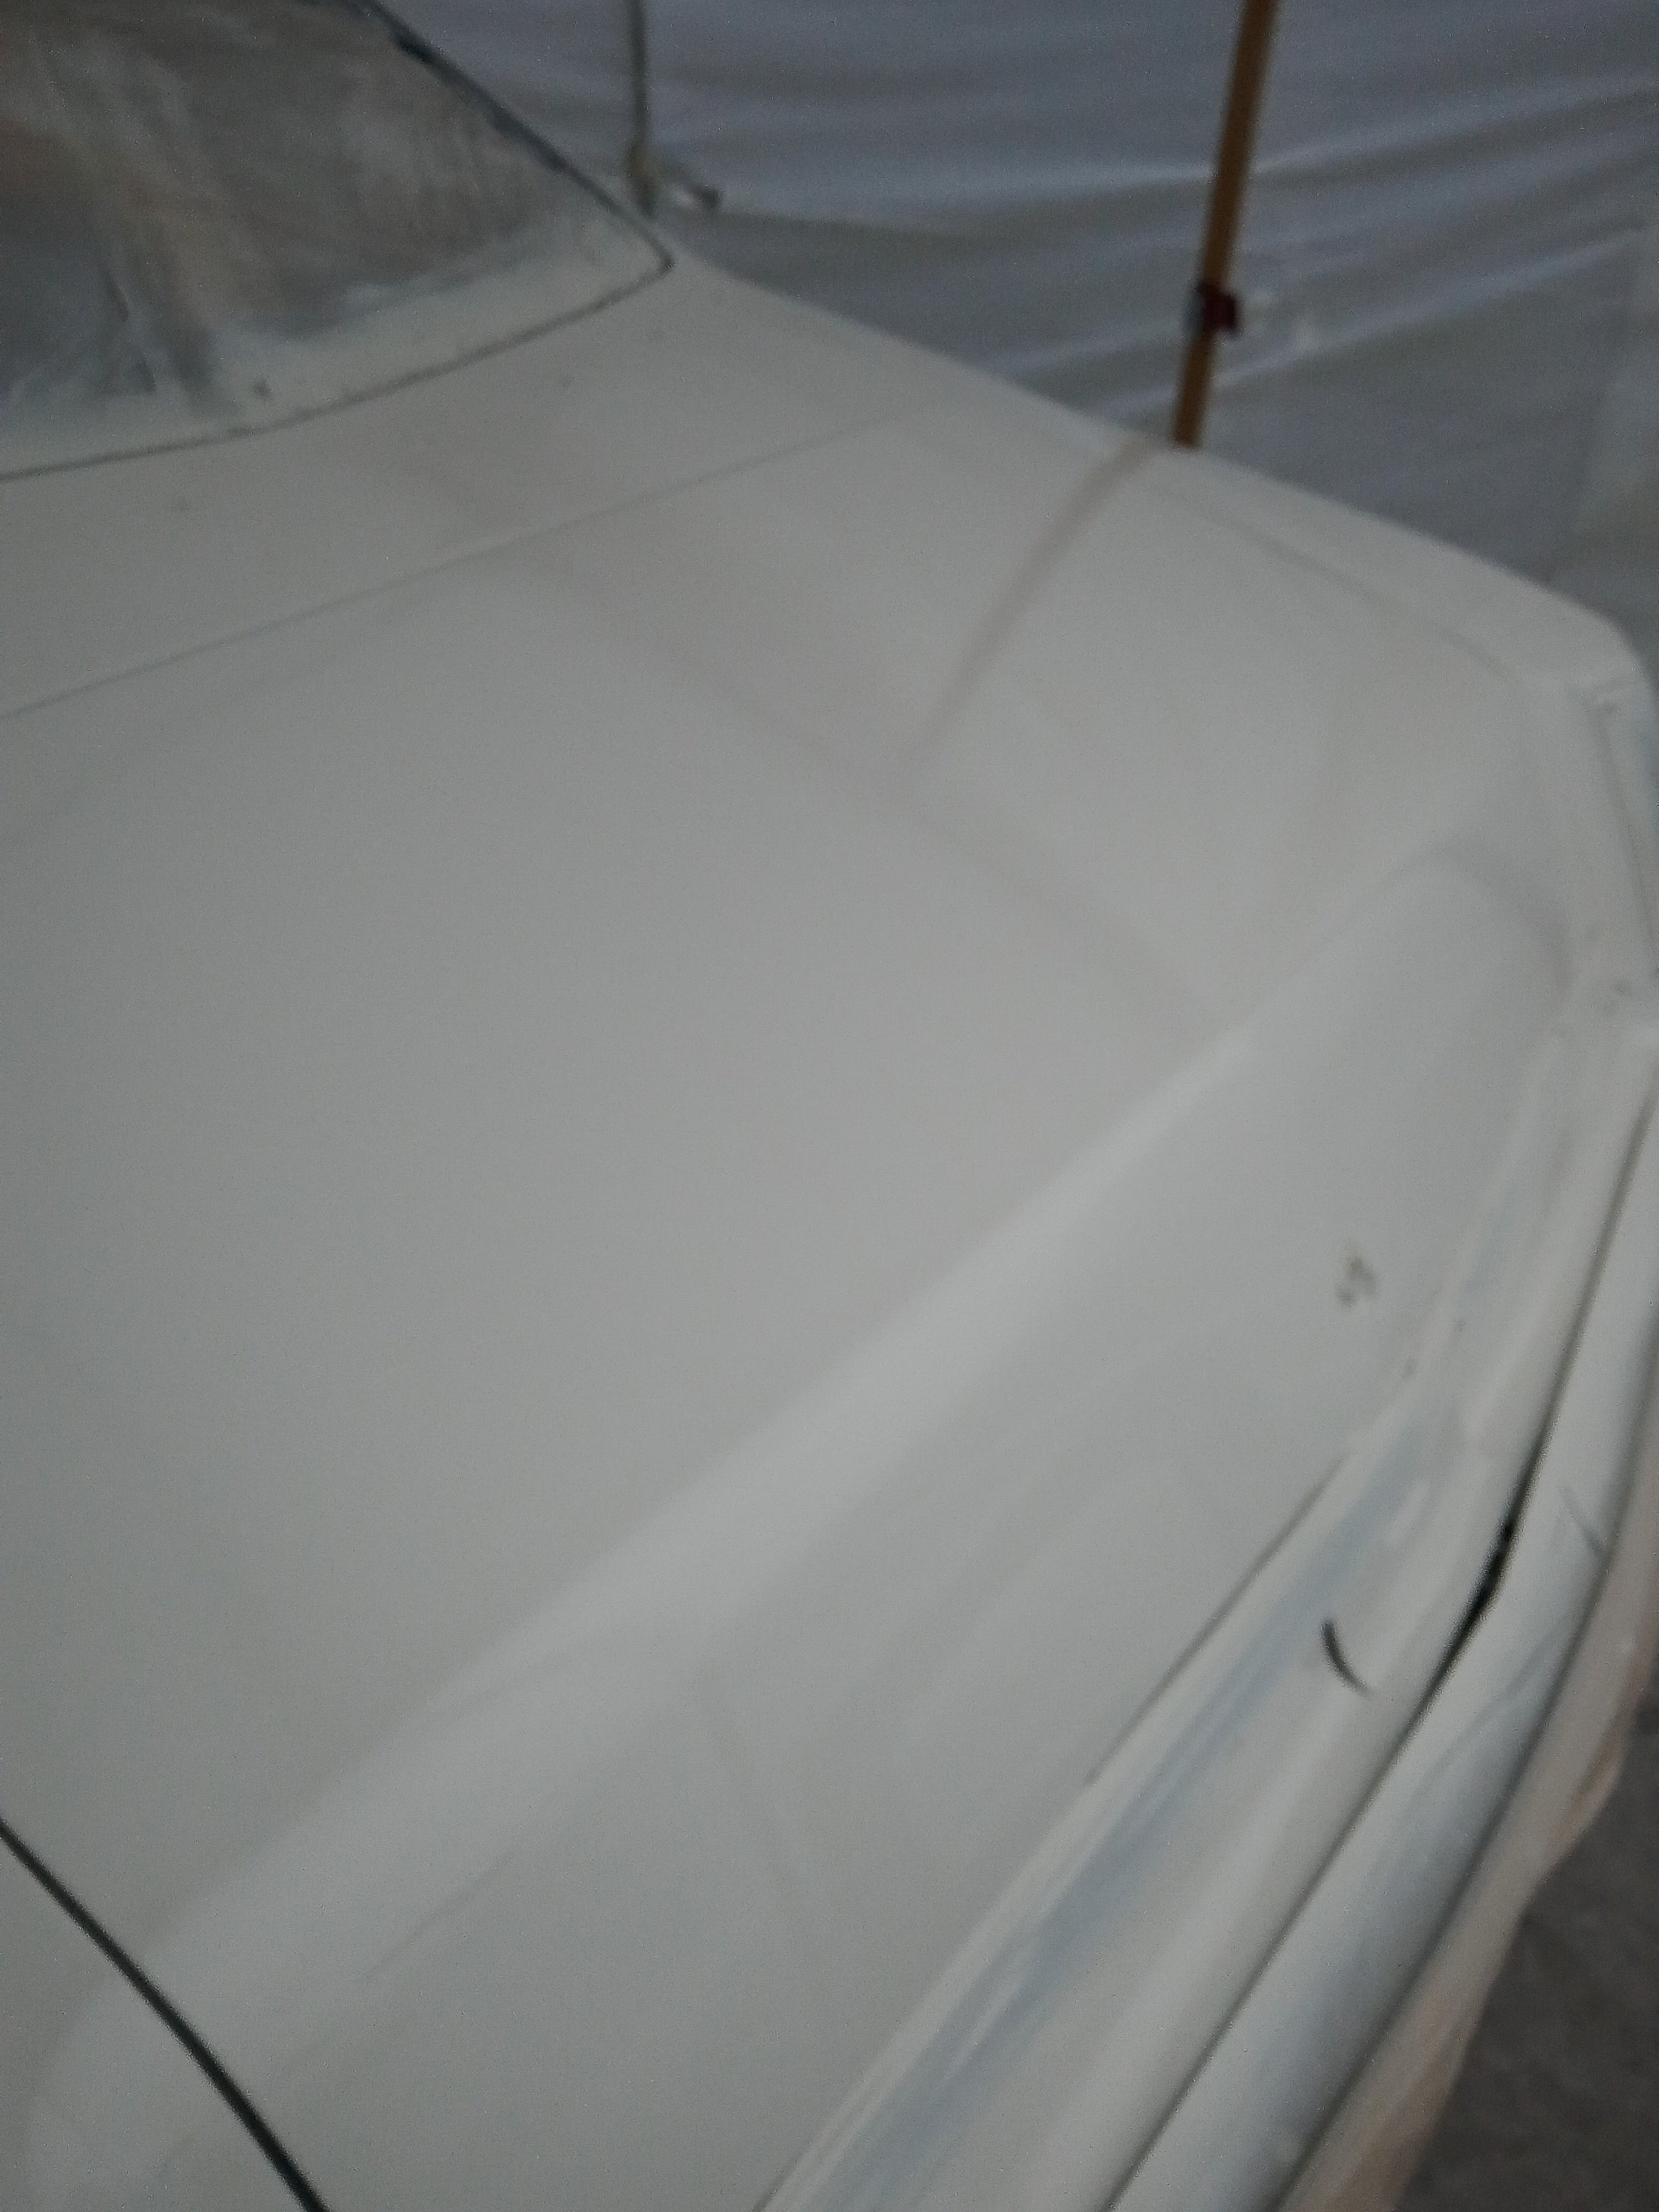
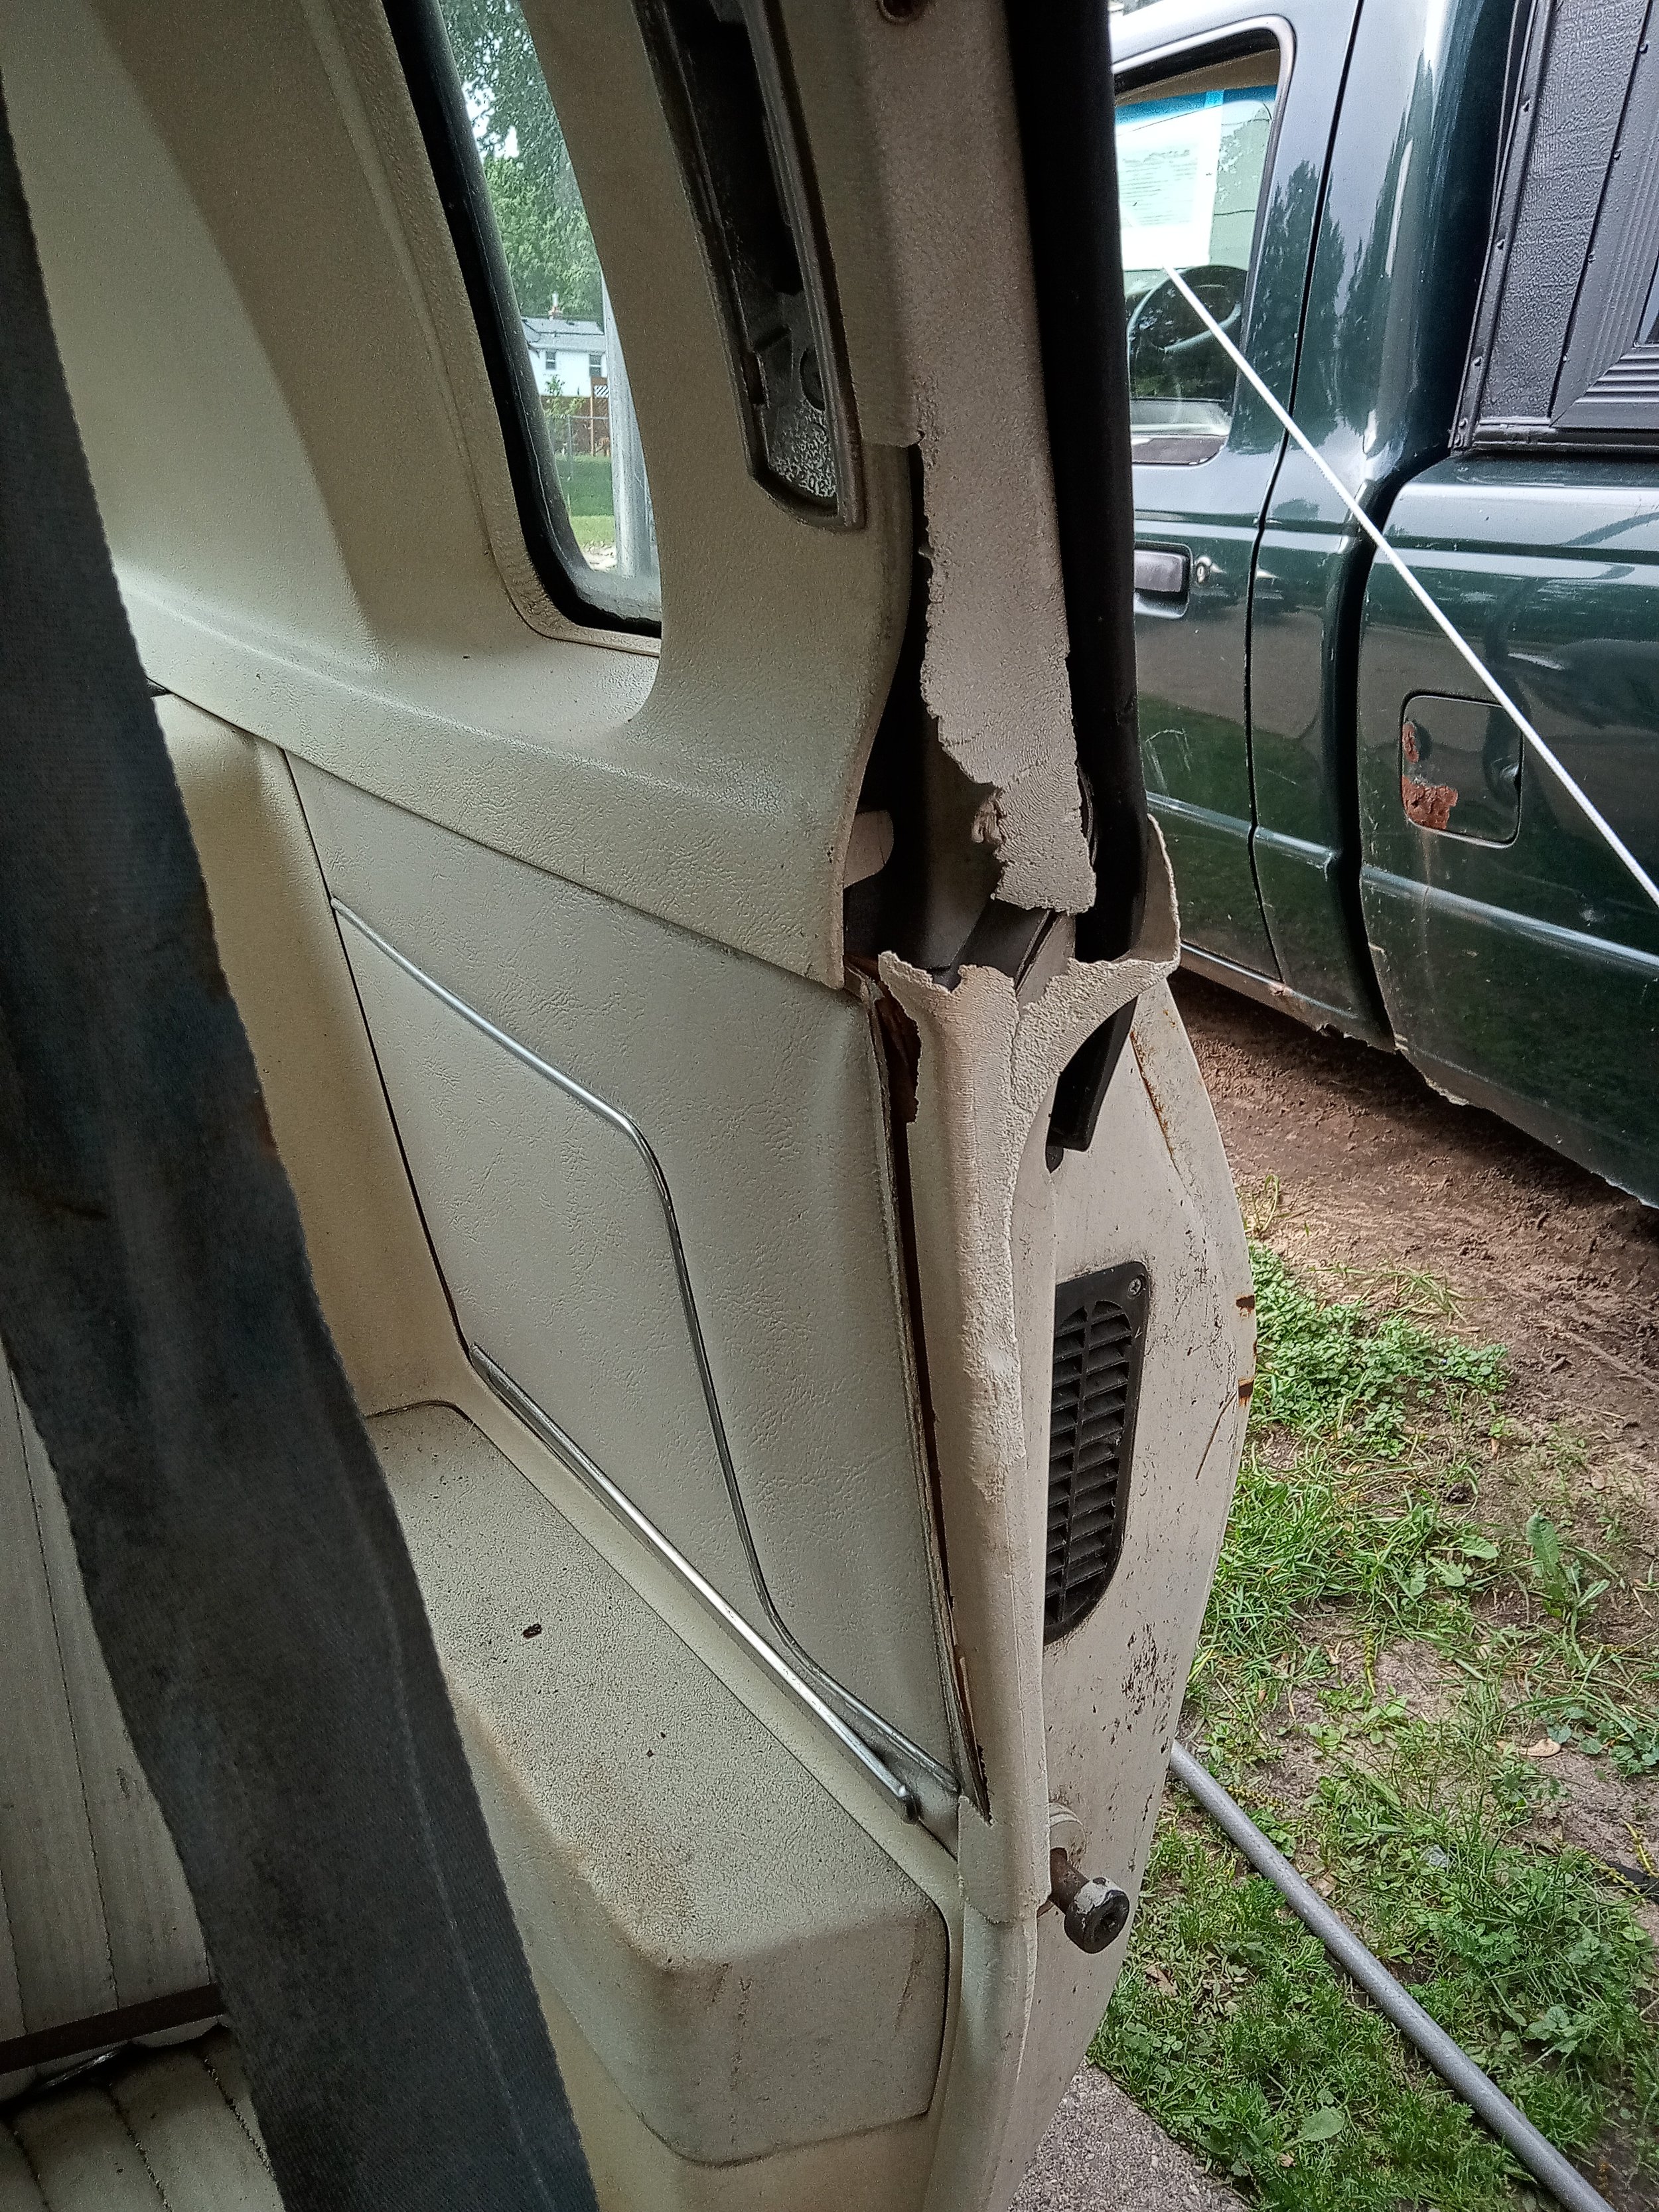
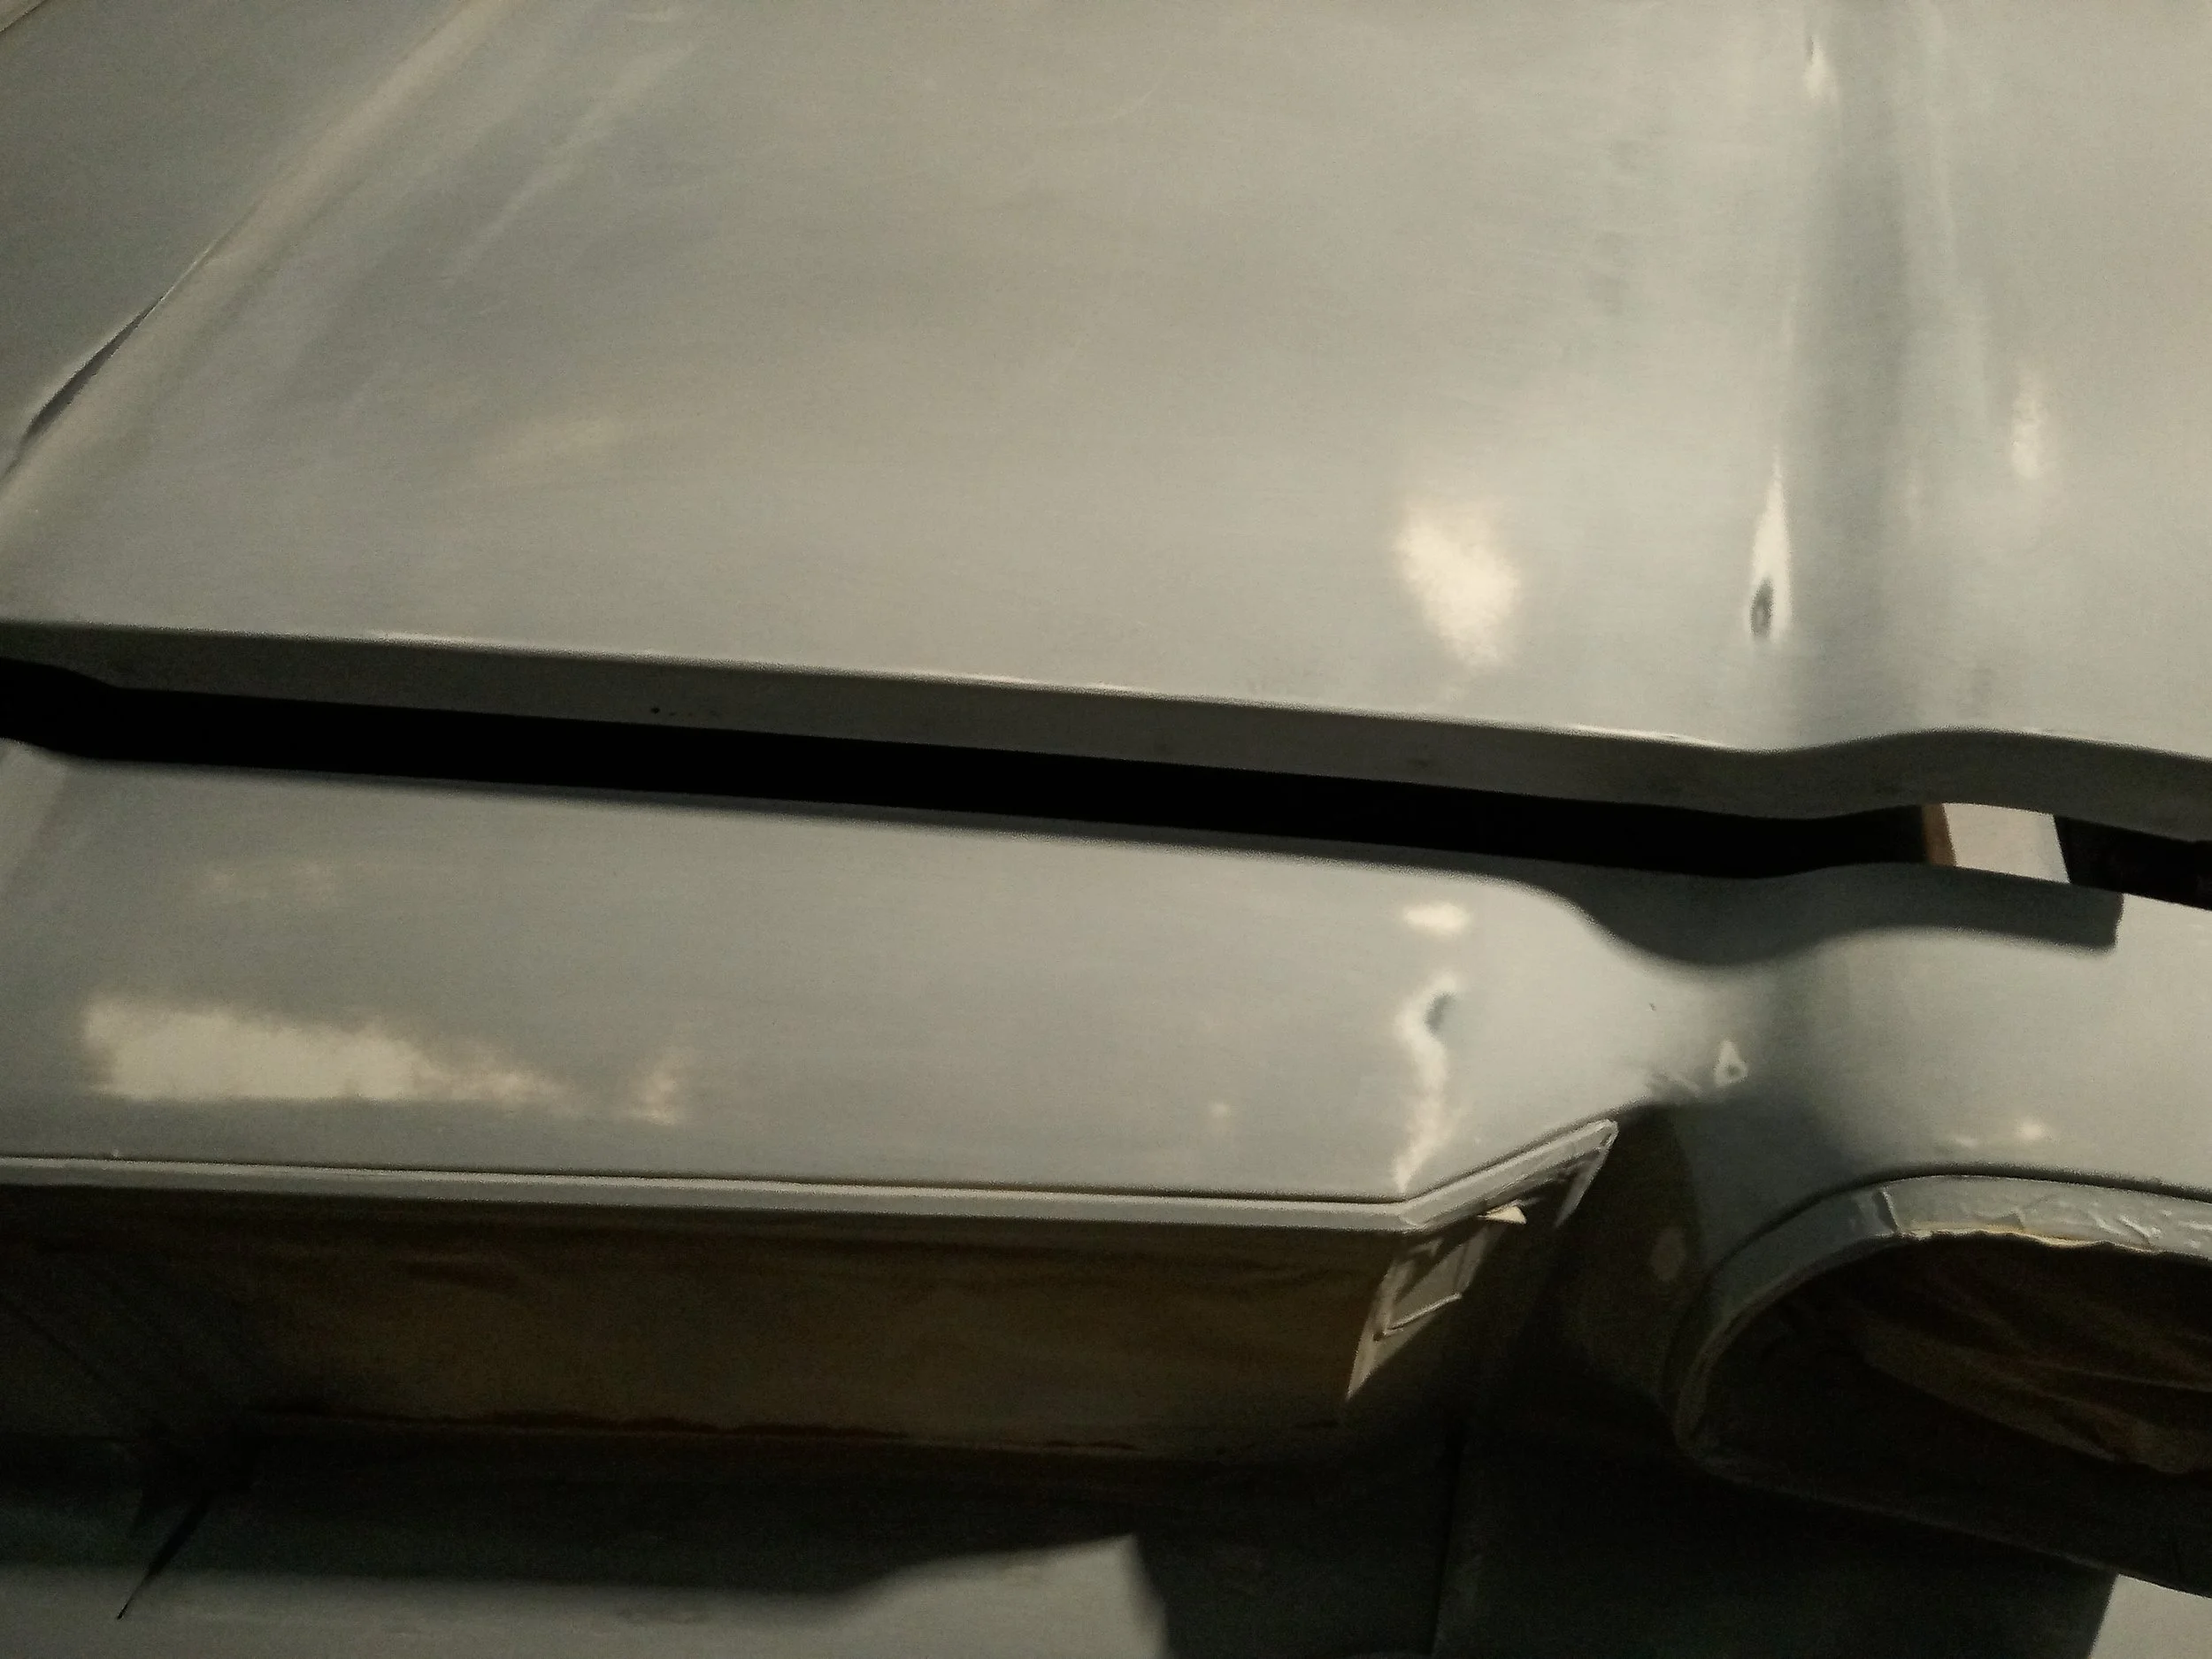
automotive filler on any large defects: large dent driver side door, 2 holes, 2 seams from rear glass to trunk lid, both rear quarter panels in various places. about a dozen patches. the holes reinforced with fiberglass
filler and primer sanded down to 320 over 85% of the car. 150 scuff on the rubber pieces and a few lower areas only got 220
3rd and final primer coat sprayed thick
sanded whole car with 400 by hand
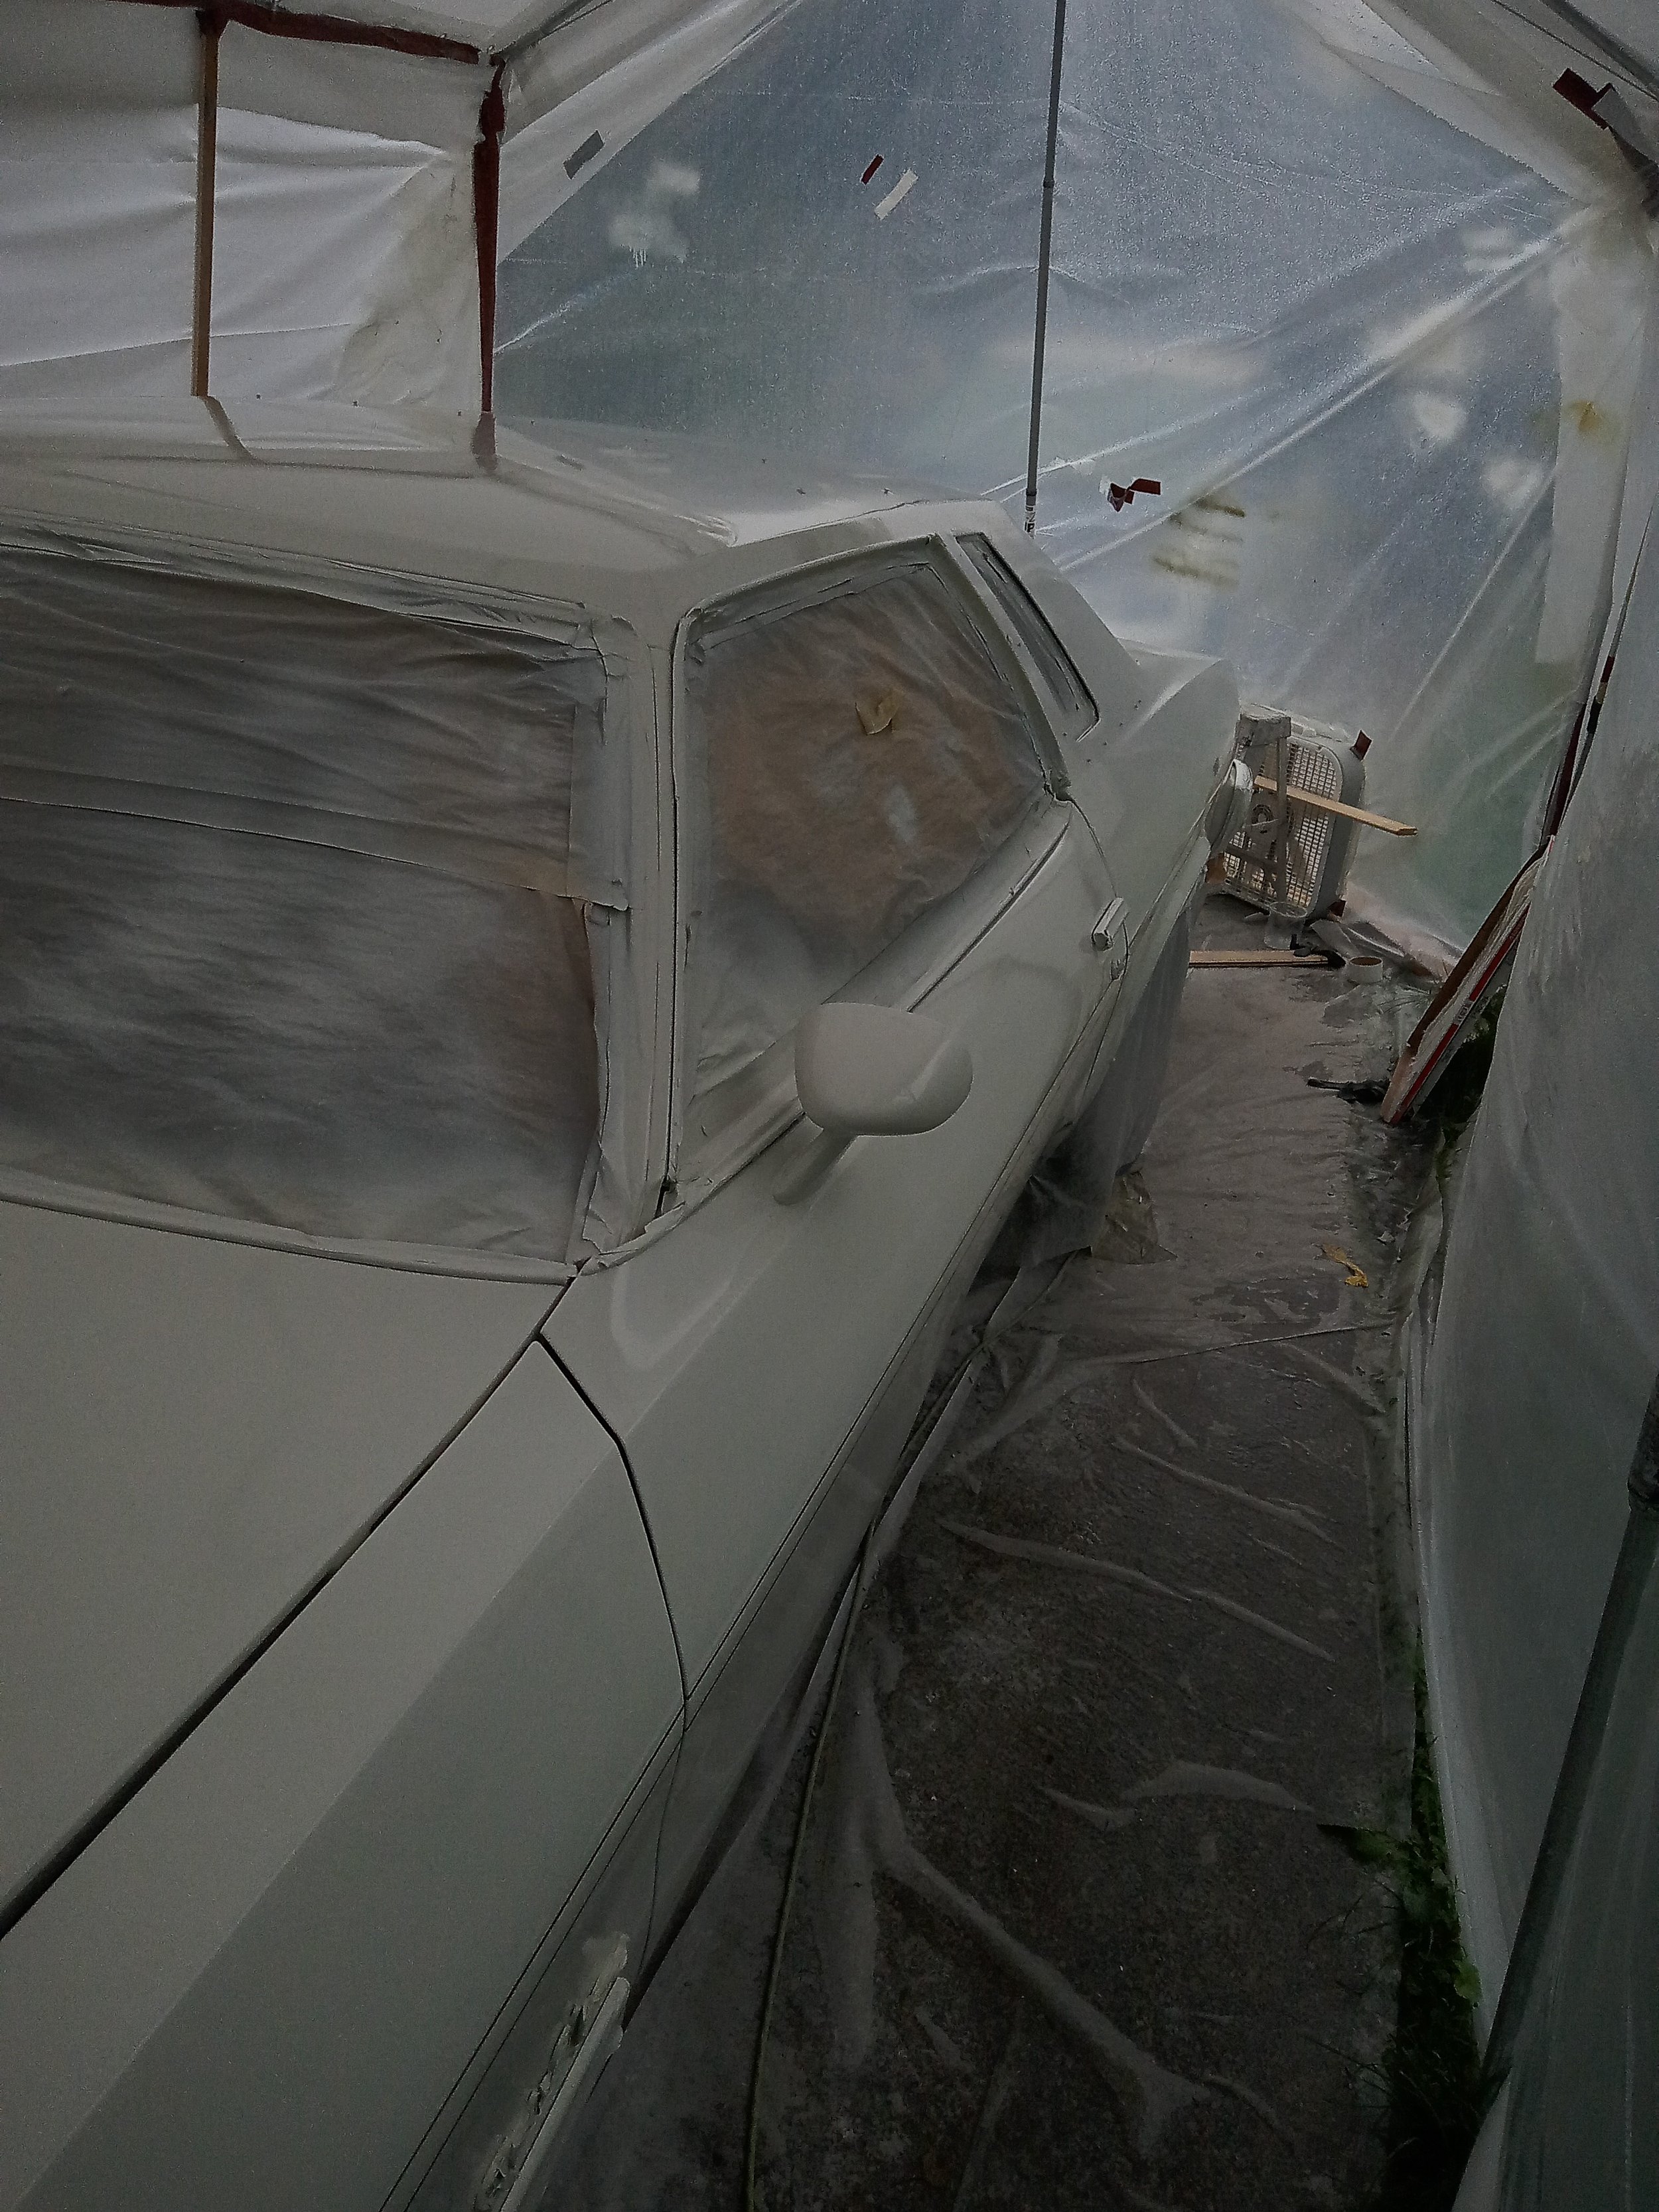
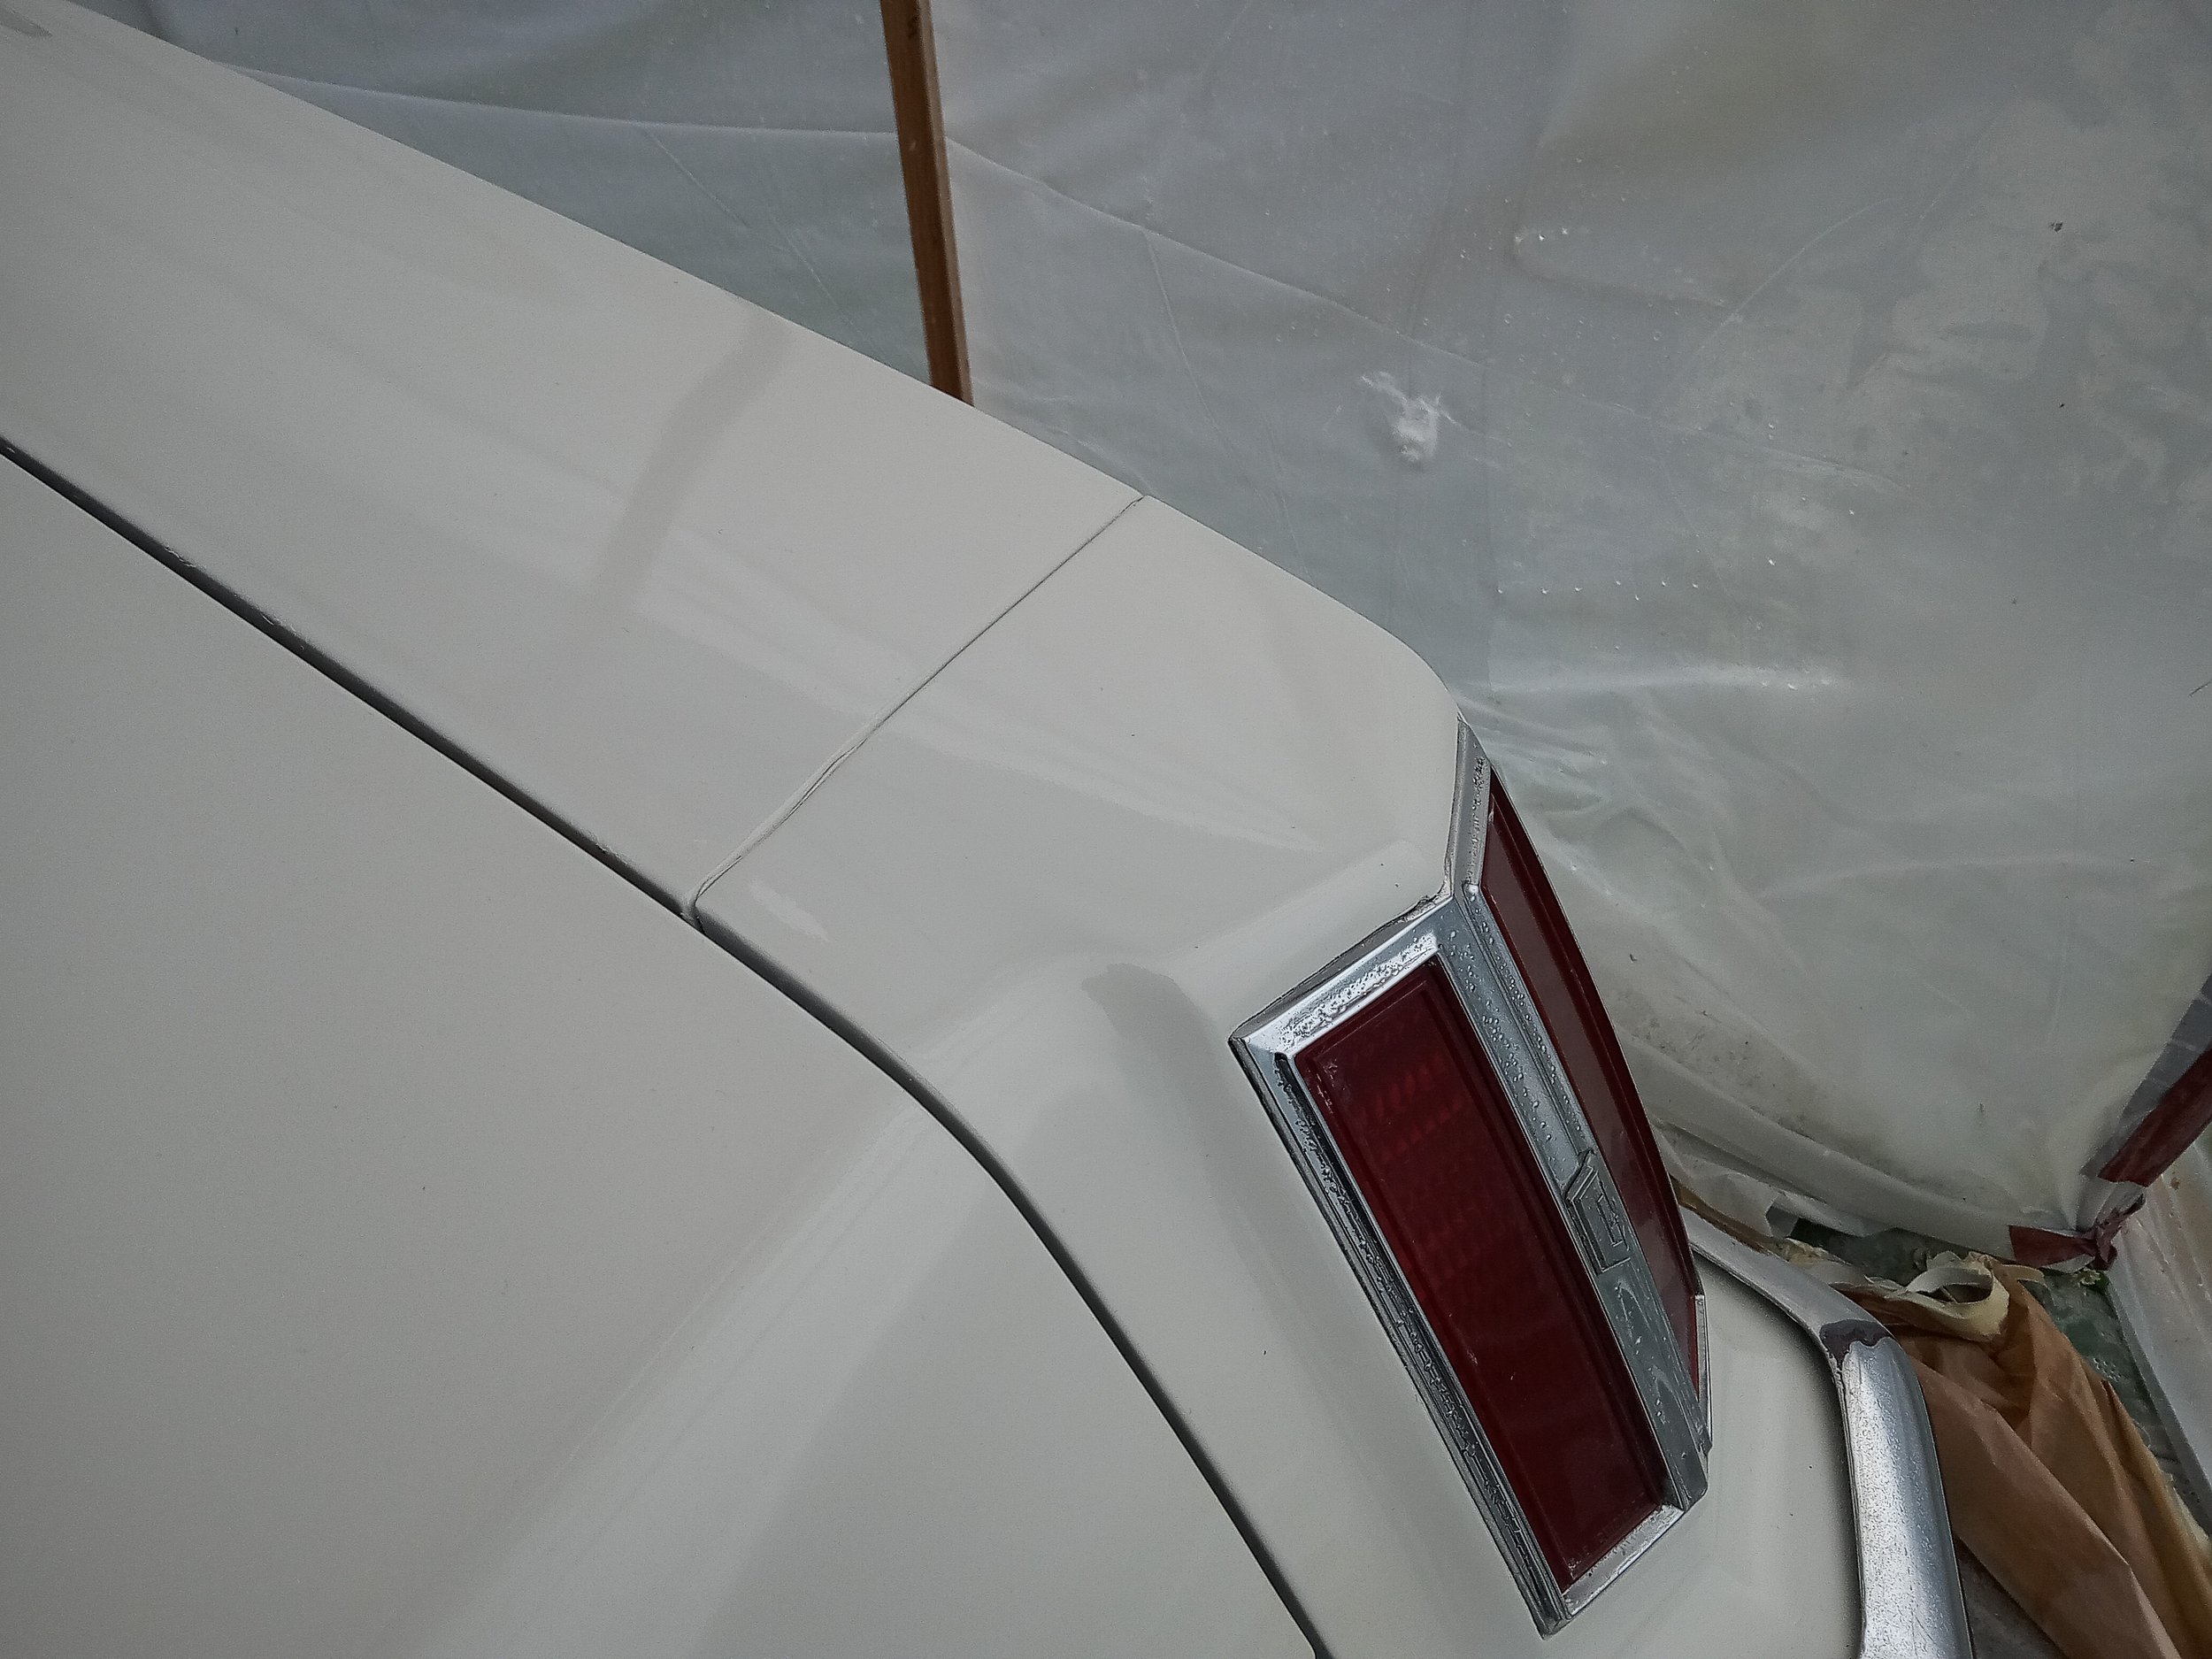
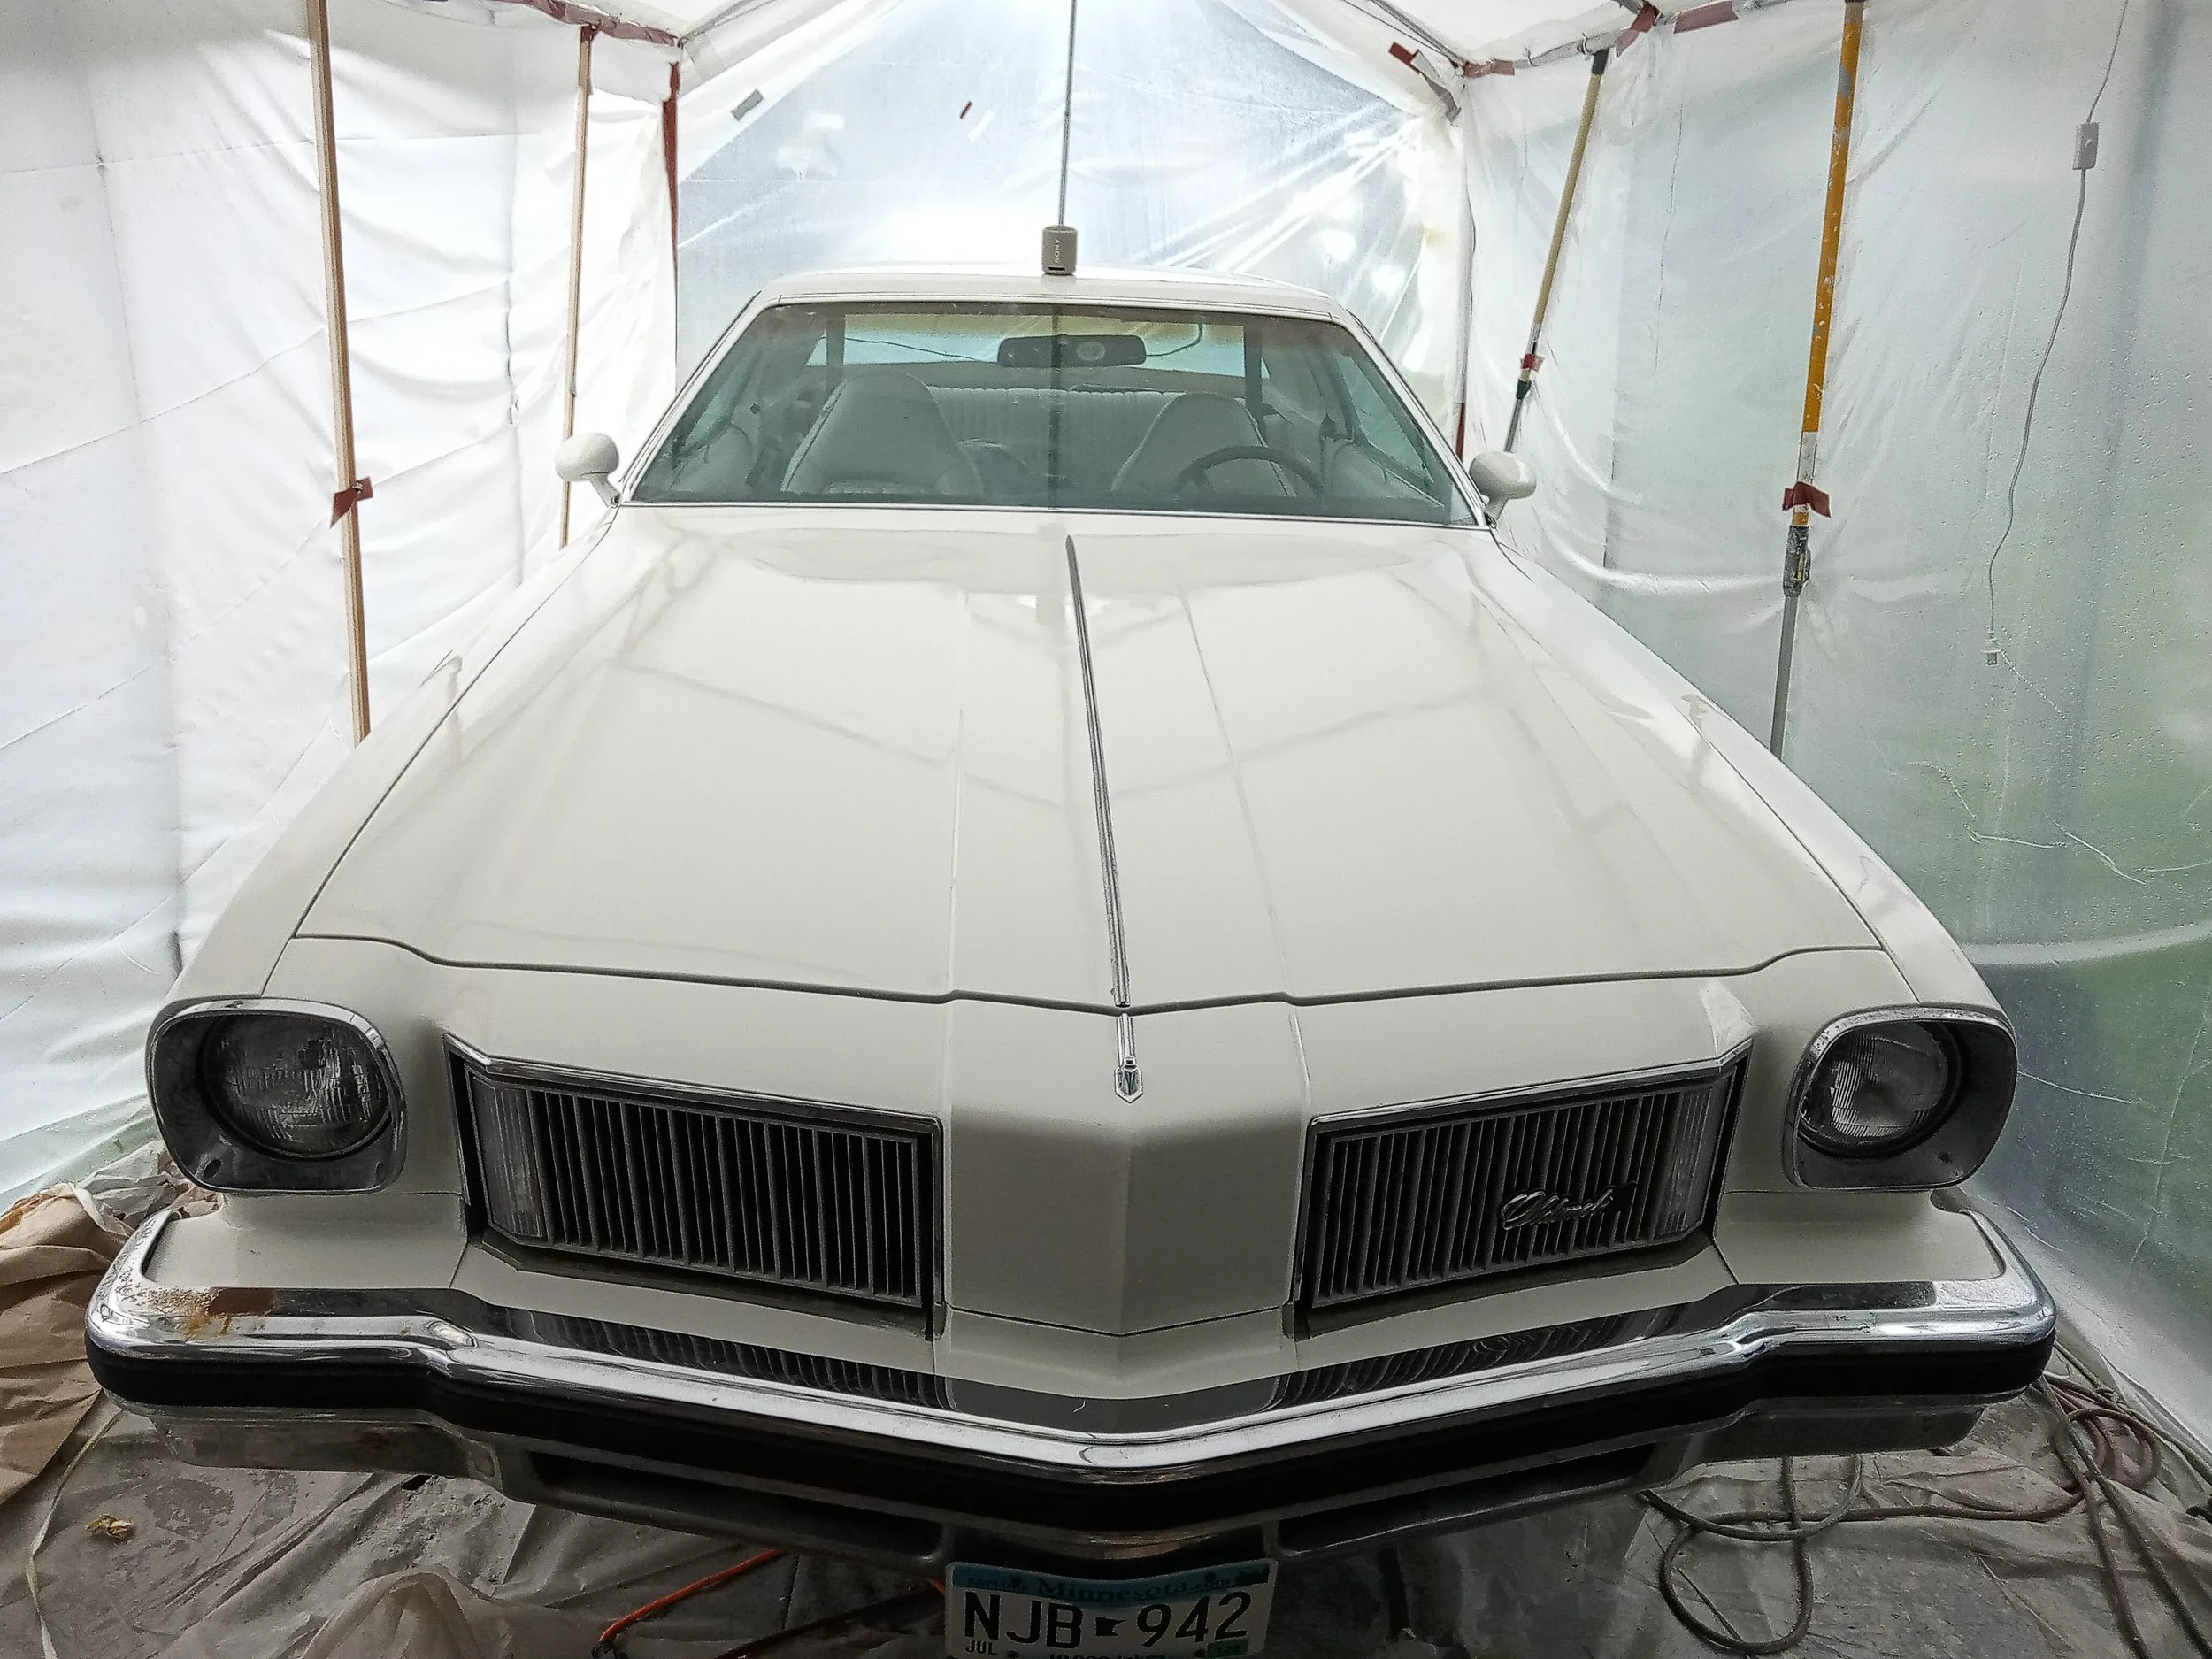
sprayed 3 coats of basecoat for full coverage (factory white)
lightly sanded with 1000
vac n tac
Sprayed 1 coat of clear
masked off and sprayed 2 pinstripes of Hurst gold
sprayed 1.5 coats of clear
quad zero steel wool over all the chrome to remove rust and blemishes
cleaned the windows
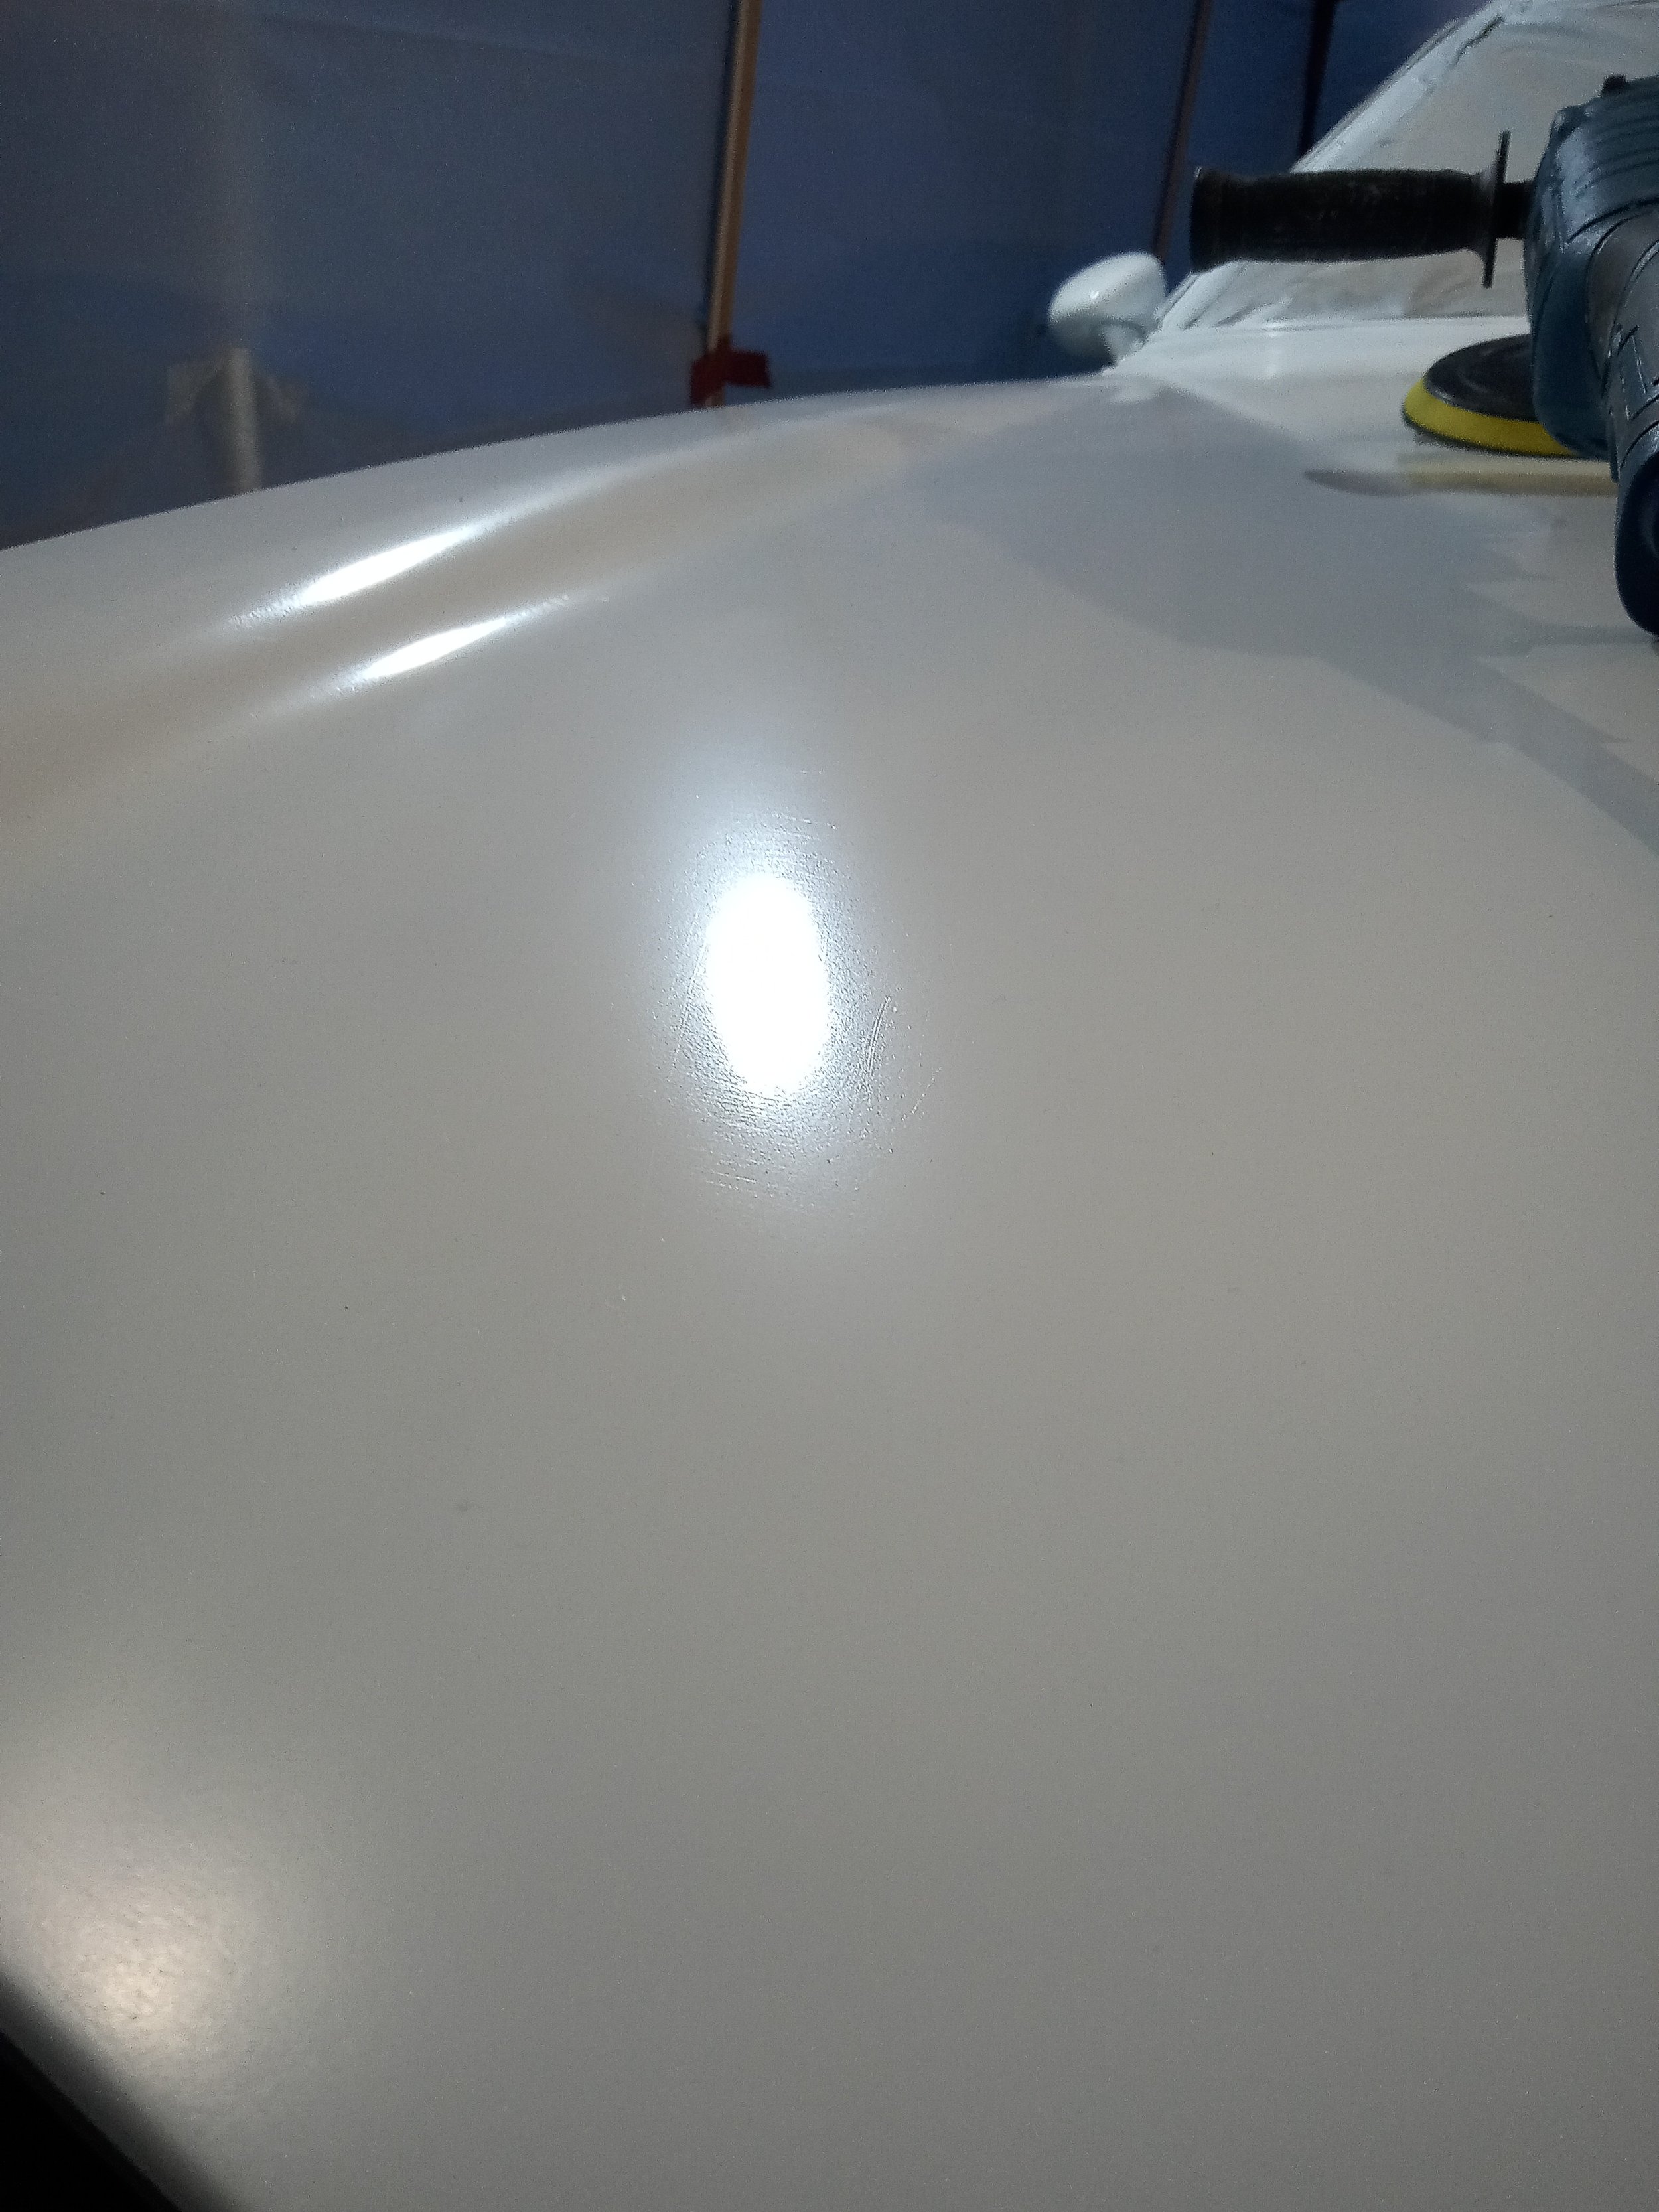
started to wetsand trunk lid and roof with 2000
Remaining steps (phase 2)
re-prep for spraying
wetsand with 800 by hand to remove drips and sags in clear
light wet sand with 1000 grit all over using the buffer
spray 1 full coat of clear
flash on a 2nd coat of clear (maybe a 3rd depending on how it lays out)
detailed wet sand 2000 grit
buff clearcoat within 48 hours
polish clearcoat within 48 hours
apply 2 coats wax
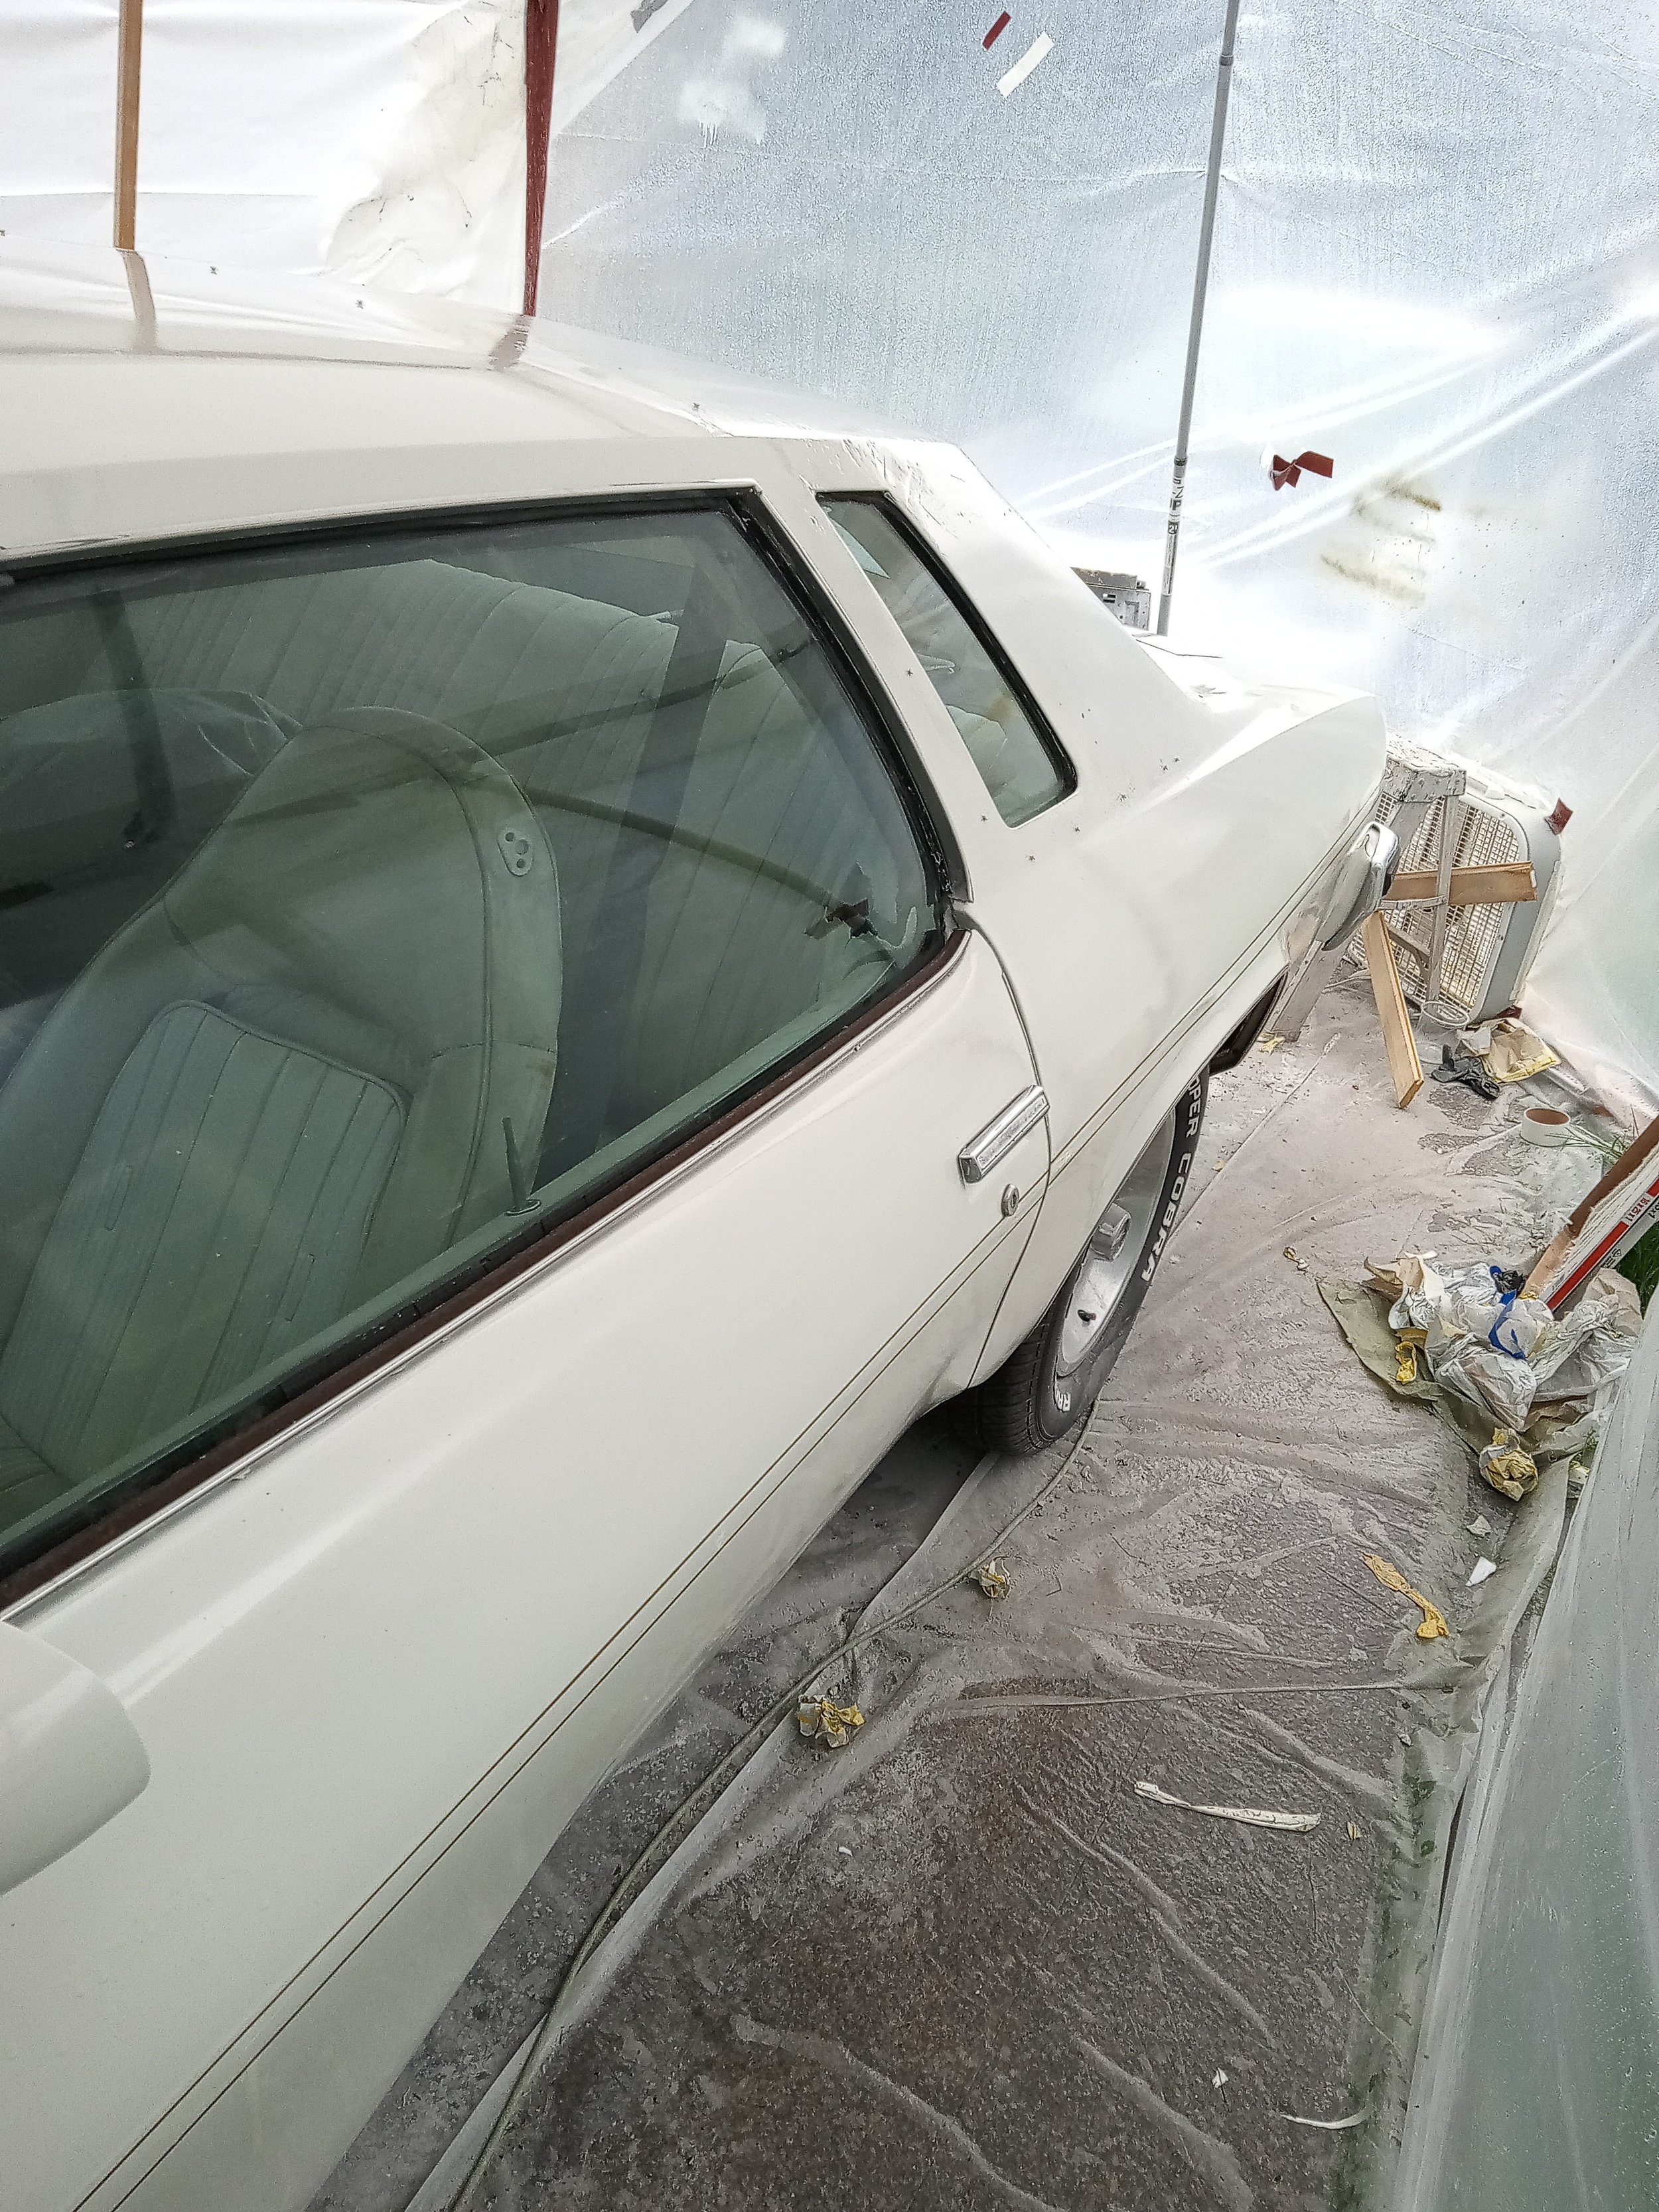
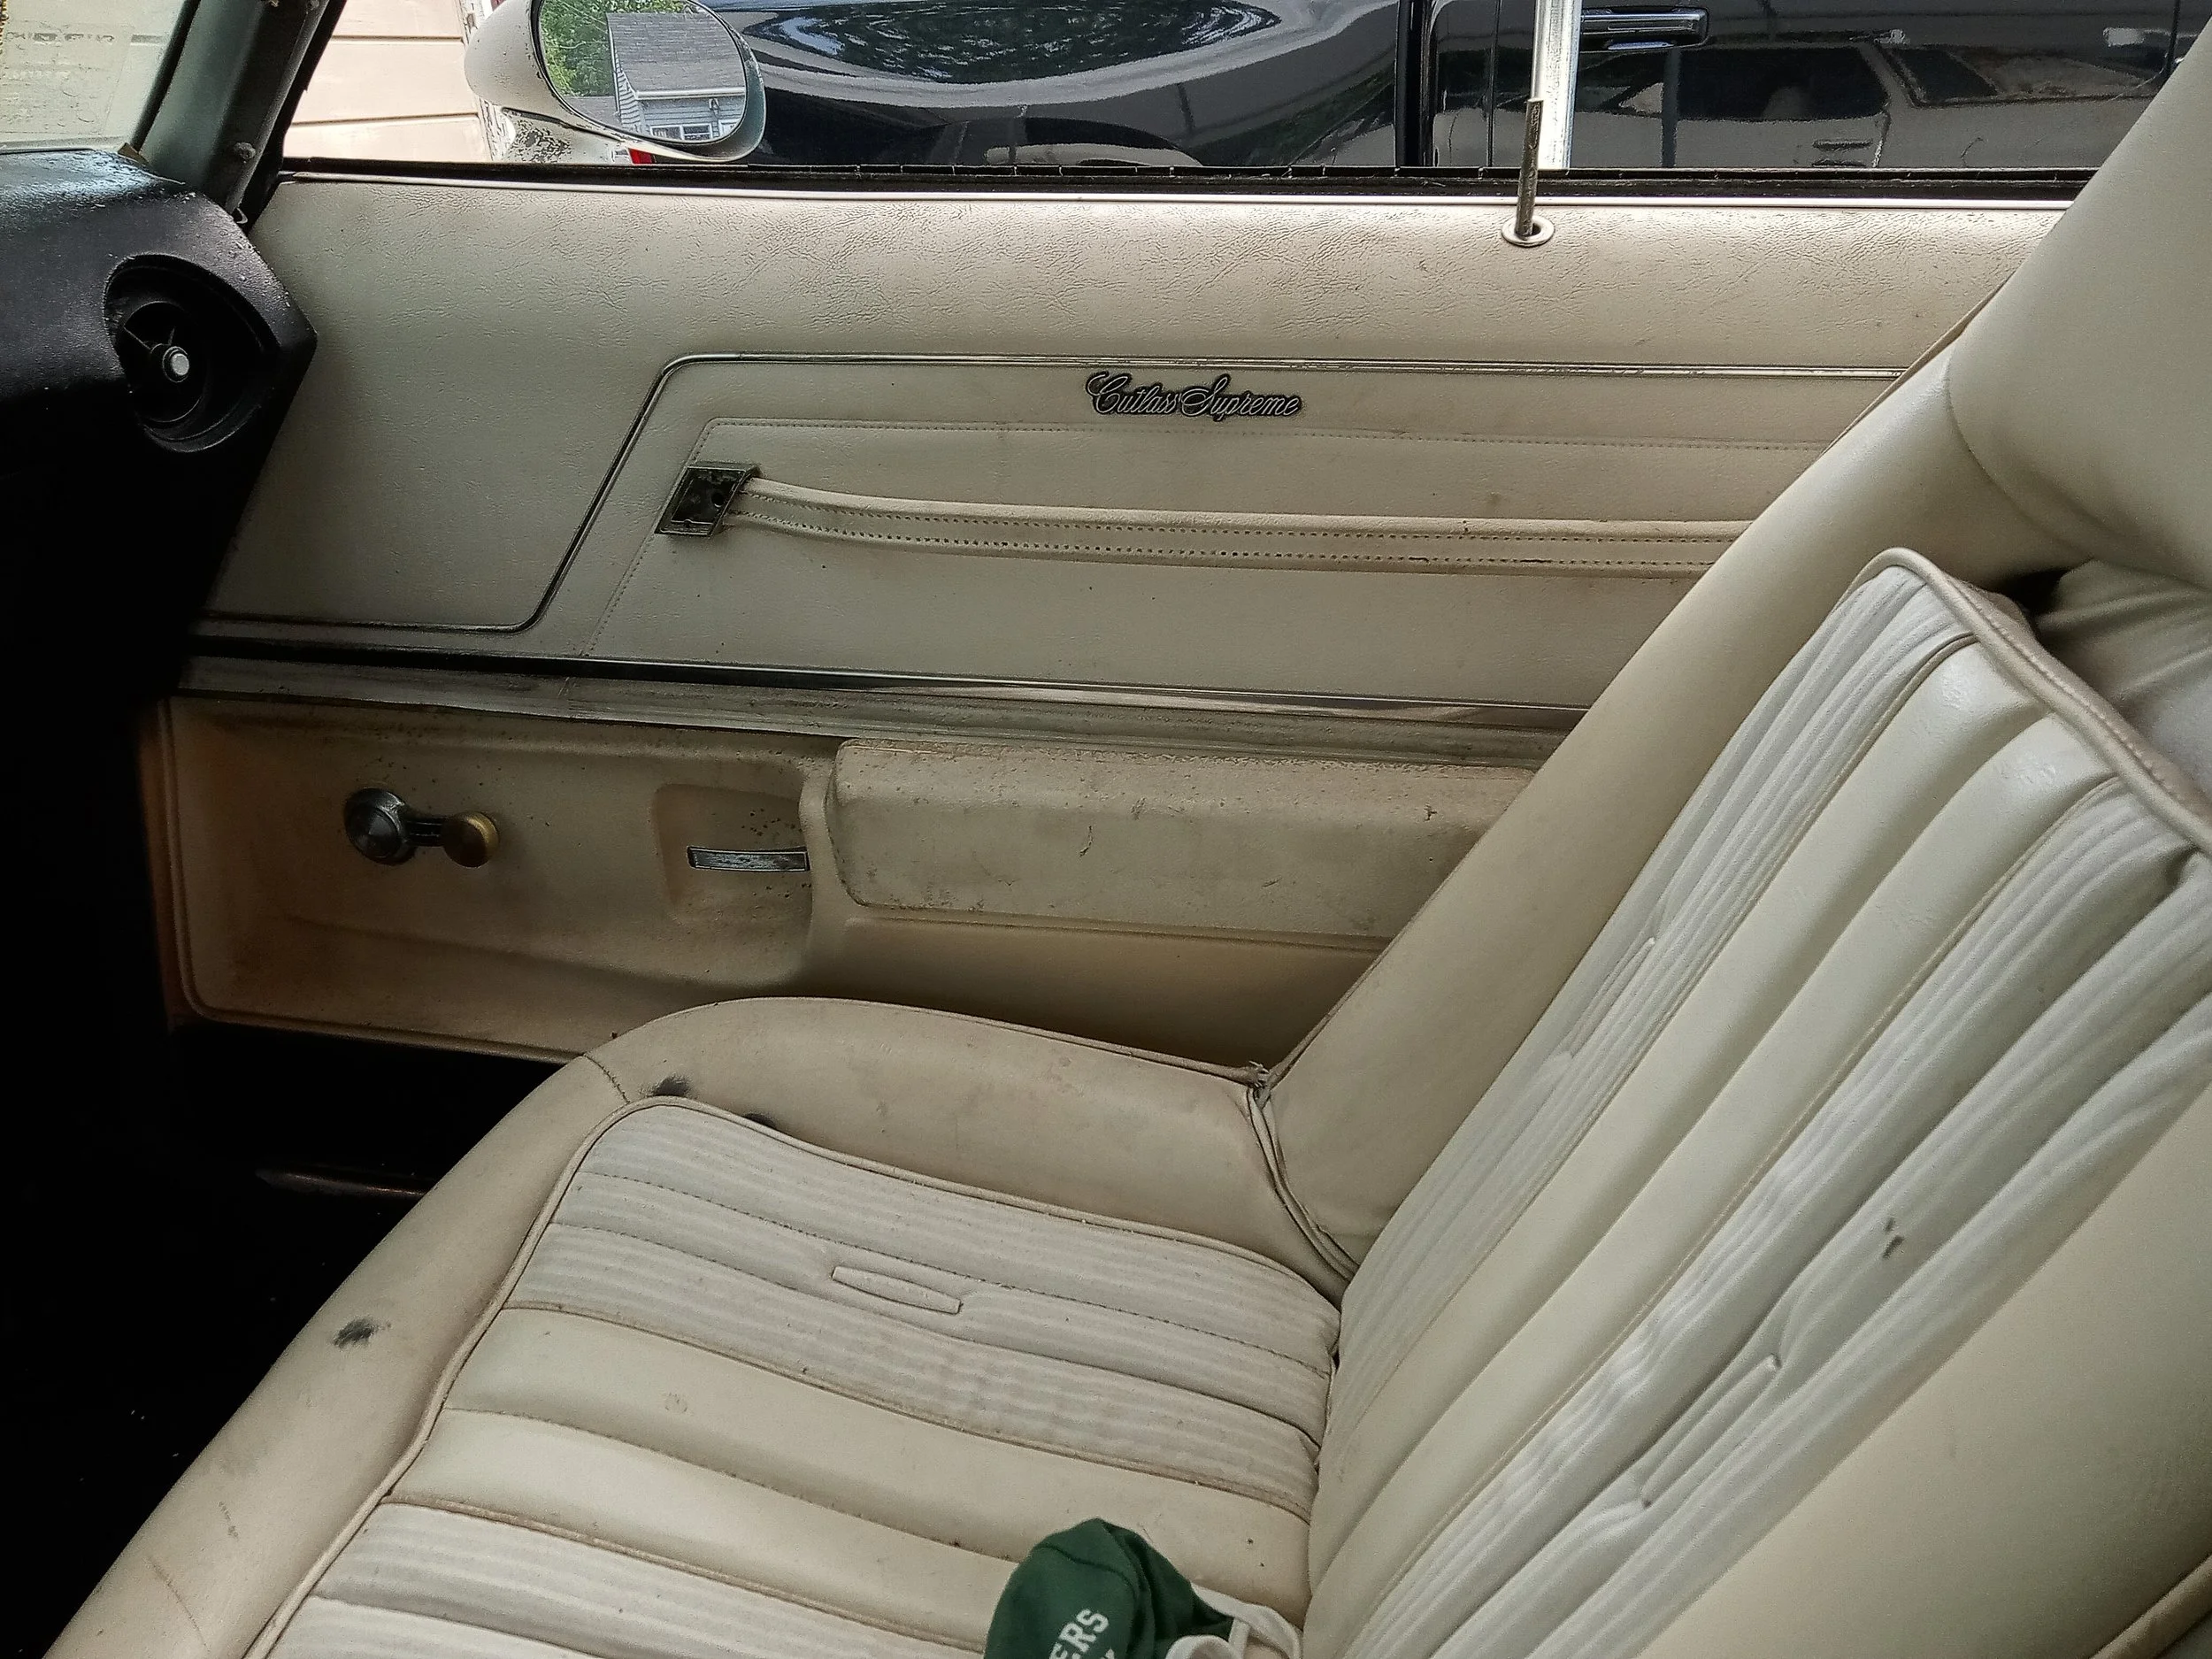
Before


Prep, Patch, and Prime


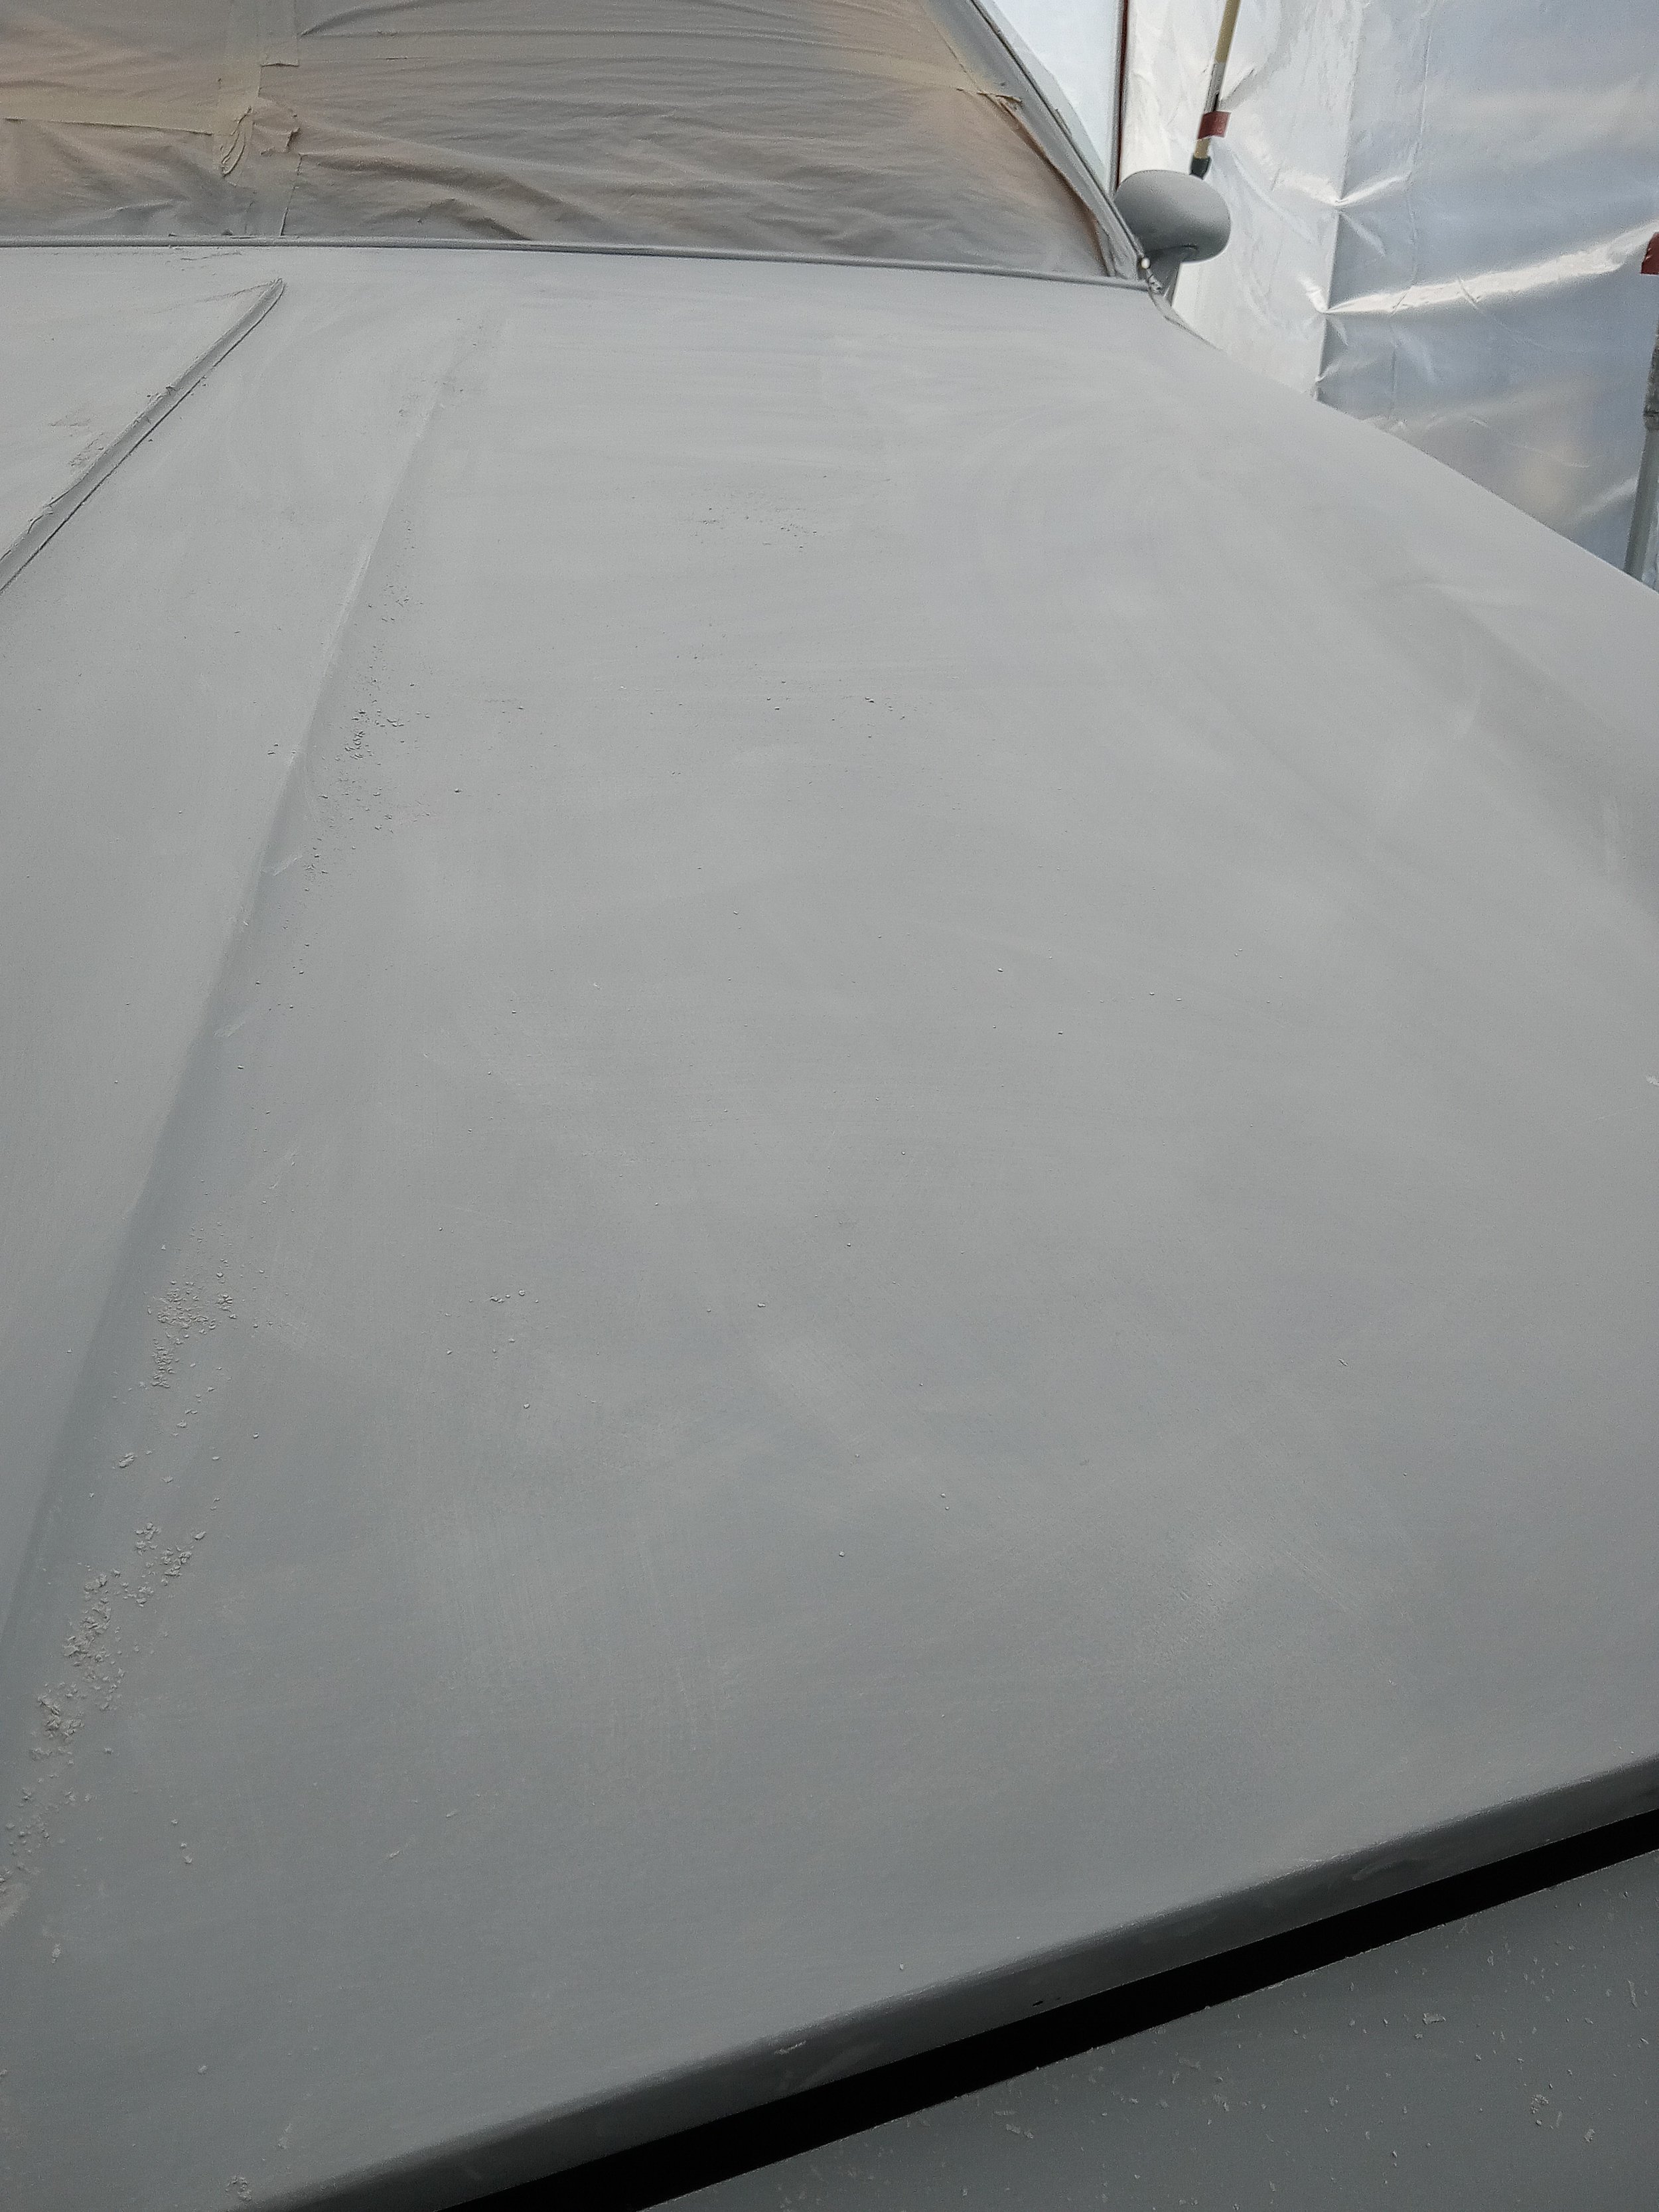


Base and Clear